 Ruby: Development platform
Set up your development environment for a smooth and efficient workflow
👋 Welcome to the Stackhero documentation!
Stackhero provides a ready-to-use Ruby cloud solution that delivers numerous advantages, including:
- Deploy your application in just a few seconds with a simple
git push.- Use your own domain name and take advantage of automatic configuration of HTTPS certificates for enhanced security.
- Benefit from automatic backups, one-click updates, and clear, transparent, and predictable pricing.
- Enjoy optimal performance and enhanced security thanks to a private, dedicated VM.
Save time and make your life easier: it only takes 5 minutes to try Stackhero's Ruby cloud hosting solution!
A well-prepared development platform makes your work faster, more enjoyable, and more reliable.
This guide will help you choose between local and remote development, walk you through installing Ruby with asdf, and show you how to start a new Ruby project.
Choosing your development environment: local or remote
You can run Ruby projects in two ways: locally on your computer, or in the cloud using a ready-to-code service like Code-Hero. Each method has its advantages, so you can select the one that best fits your workflow.
Local development is ideal if you want to work offline. Everything is installed on your own machine, but setup and maintenance take more time, especially if you are new to programming or need several tools. You are responsible for updates, backups, and security, and you are limited by your computer’s resources. Accessing your work from another device can also be challenging.
Remote development with Code-Hero provides a preconfigured environment that’s ready in seconds. It includes an easy-to-use Visual Studio Code fork and native support for tools like Git, Docker, Ruby, Rails, and more. Cloud servers typically offer more CPU, RAM, and storage than local machines. Since everything runs in your browser, you can work from any device or operating system.
Integrated tools like Docker and Traefik make it easy to use TLS and real domains (for example, https://your-project.you.your-company.dev). This closely replicates a real production environment, so you can test webhooks (from GitHub, Slack, Stripe, etc.), handle CORS, and develop against production-like services without extra configuration.
Choose the option that matches your workflow, skills, and project requirements:
-
Local development:
- ✅ Works offline: No internet connection required
- ❌ Limited resources: Dependent on your computer’s performance
- ❌ Manual setup: You install and configure tools yourself
- ❌ Ongoing maintenance: Updates and backups are your responsibility
-
Remote development (on Code-Hero):
- ✅ Ready instantly: All tools are installed and configured
- ✅ High performance: Uses powerful, dedicated cloud servers
- ✅ Work anywhere: Access your environment from any device
- ✅ Live integrations: Built-in HTTPS domains for webhooks and third-party services
- ❌ Internet required: Needs a network connection
Developing in Ruby: remote setup
A remote environment eliminates manual setup and speeds up your first commit. Code-Hero runs on high-performance servers, so you can focus on building features instead of configuring tools. You get a fresh, ready-to-code workspace for every project, and setup only takes a few seconds.
If you are using Code-Hero, you can skip ahead to Creating a Ruby project. For local development, keep reading.
Developing in Ruby: local setup
A local Ruby environment gives you full control, but requires a few extra steps. You will need to install Ruby, dependencies, and tools yourself.
Installing Ruby with asdf
asdf is a flexible version manager for multiple languages, including Ruby, Node.js, Python, and PHP. It makes it easy to manage projects with different versions and avoids conflicts between tools.
To get started, install asdf by following the official installation guide.
Once installed, you can check that asdf is working by running:
asdf version
If you see a version number, asdf is set up correctly.
To install the latest version of Ruby:
asdf plugin add ruby https://github.com/asdf-vm/asdf-ruby.git
asdf install ruby latest
asdf global ruby latest
Check that Ruby is working:
ruby --version
This confirms Ruby is ready to use.
Creating a Ruby project
Once Ruby is installed:
asdf install ruby latest \
  && asdf global ruby latest
Install Rails:
gem install rails
Create your app (replace my_app with your project name):
rails new my_app
cd my_app
asdf local ruby latest
Start the Rails server:
bin/rails server
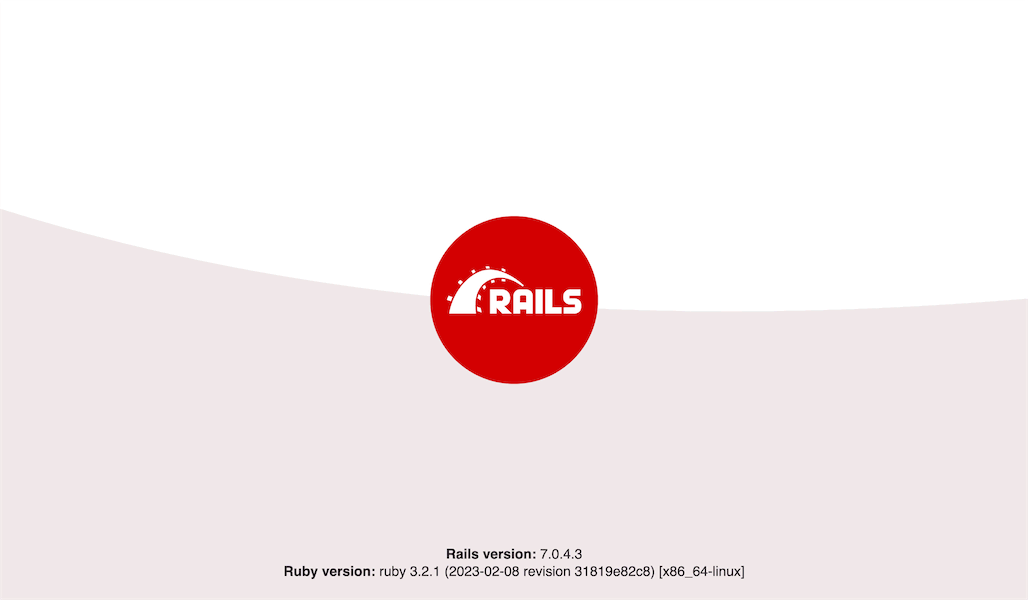 Ruby on Rails welcome screen
These steps give you a clean starting point for your project, and asdf ensures you always use the right Ruby version.
By default, Rails creates a local Git repository for your project, but it is not connected to any remote hosting service.
For reliable version control and backups, you can connect your repository to a service like GitHub, GitLab, or Bitbucket. Stackhero offers a GitLab cloud service that runs on dedicated infrastructure, providing you with privacy and security in Europe or the USA.
Special setup for Code-Hero
If you are working in Stackhero Code-Hero, adjust your Rails configuration for remote access. Open config/environments/development.rb and add this line just before the final end, replacing <XXXXXX>.stackhero-network.com with your Code-Hero server’s hostname:
config.hosts << "<XXXXXX>.stackhero-network.com"
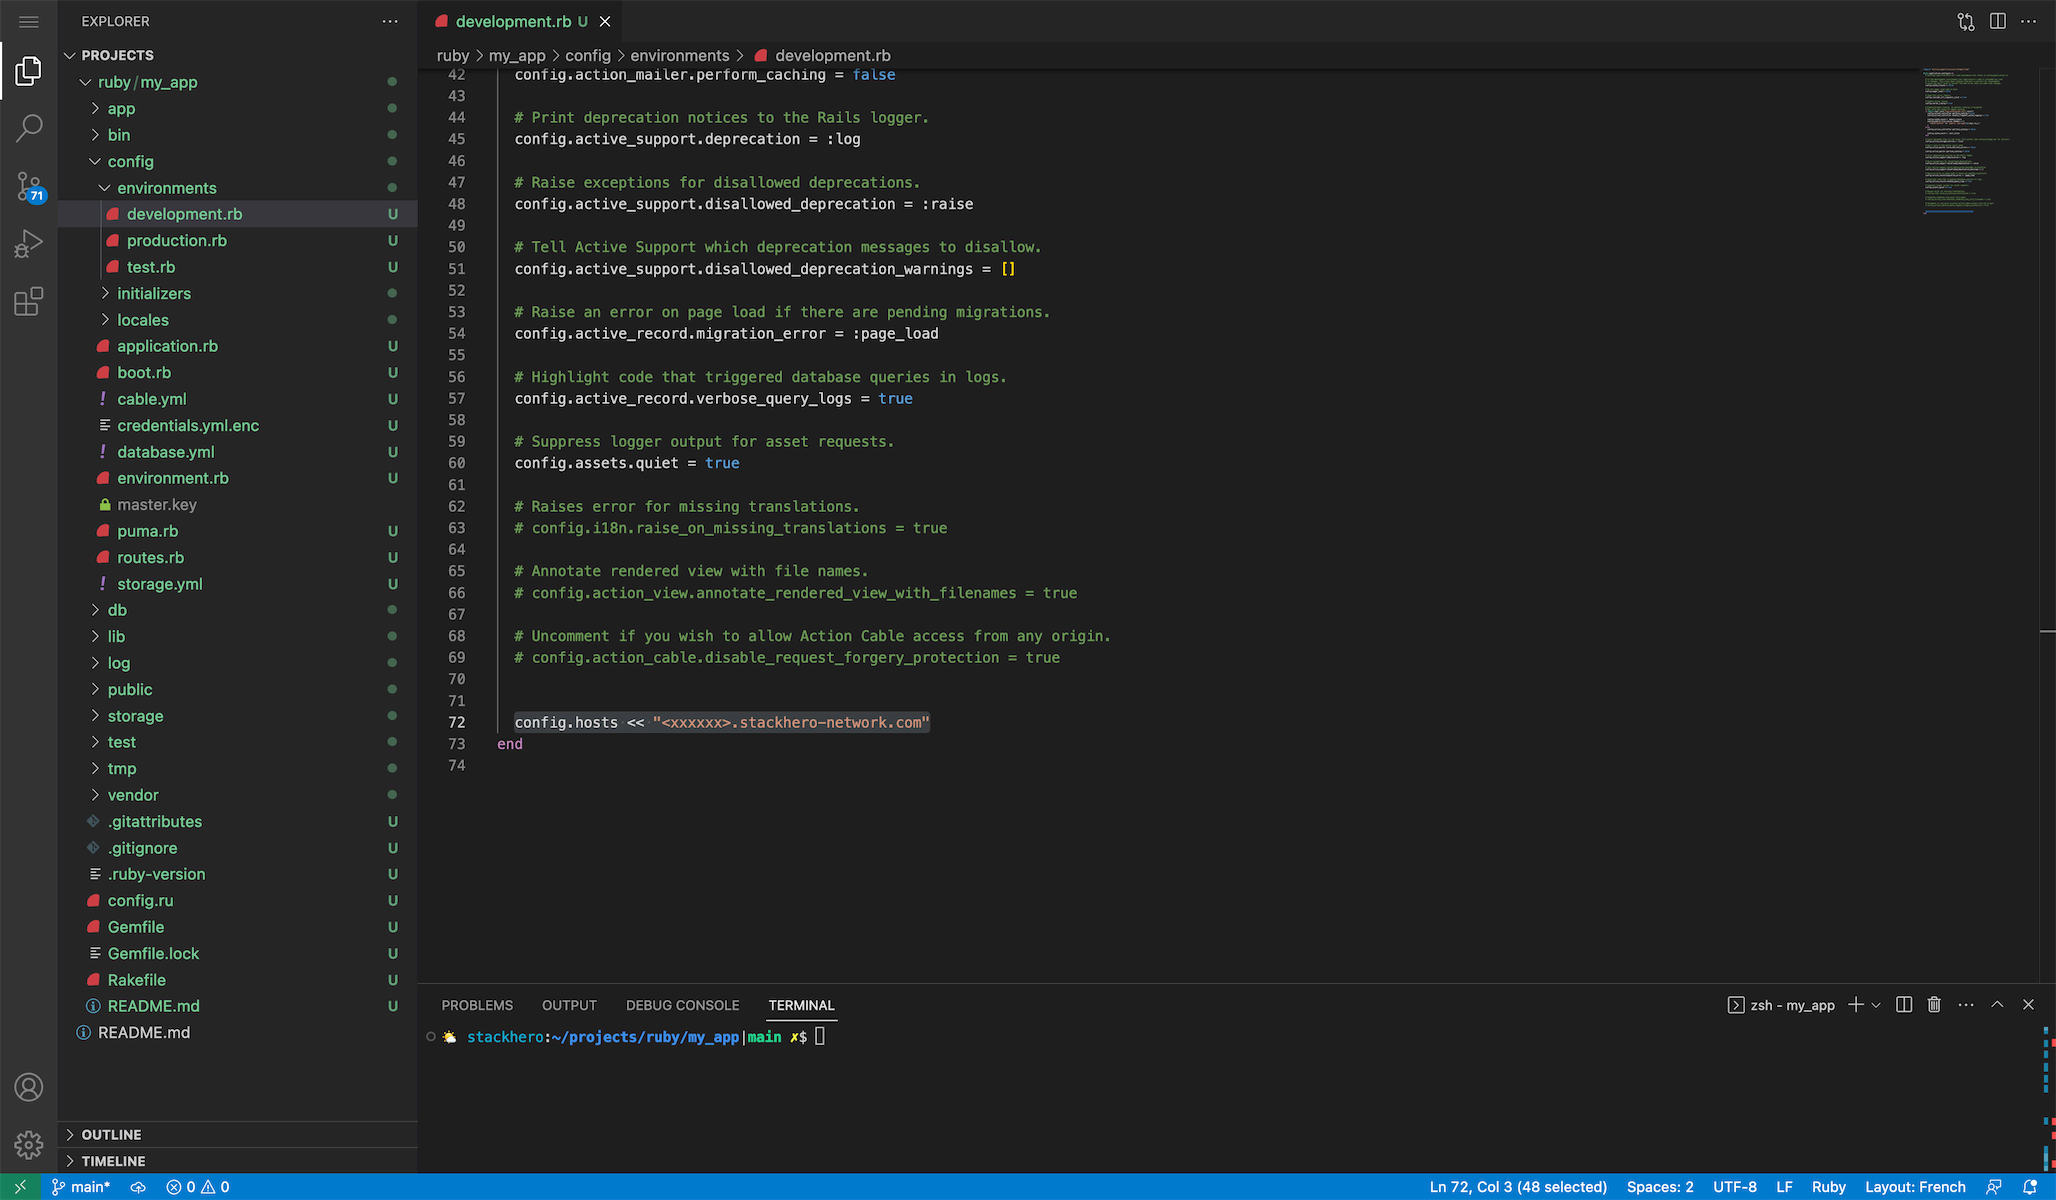 Hosts configurations example
Then start the server, binding it to all network interfaces:
bin/rails server -b 0.0.0.0