 Docker: Configure the environment variables and secrets
This documentation is part of the Deploy with GitHub Actions guide. You can view the complete guide here: Learn how to deploy your Docker containers using GitHub Actions.
Welcome to the Stackhero documentation
Stackhero offers a ready-to-use Docker cloud CaaS (Containers as a Service) platform, designed for fast and reliable container deployments:
- Deploy to production with a single
docker-compose upcommand. No additional configuration is required: simply start your containers.- Choose your own domain name, automatically secured with HTTPS (for example: https://api.your-company.com, https://www.your-company.com, or https://backoffice.your-company.com).
- Benefit from high performance and enhanced security on private, dedicated infrastructure.
- Apply updates with a single click for straightforward, effortless maintenance.
Your containers can be live in production in around five minutes. Stackhero manages the infrastructure, updates, and security for you, so you can focus on developing your applications. Find out more about Docker CaaS cloud hosting.
Retrieve the domain name and certificates password
To allow GitHub Actions to connect to your Stackhero Docker service, you will need two pieces of information: your service's domain name and the certificates password.
-
In the Stackhero dashboard, select your "production" Docker service and click the "Configure" button.
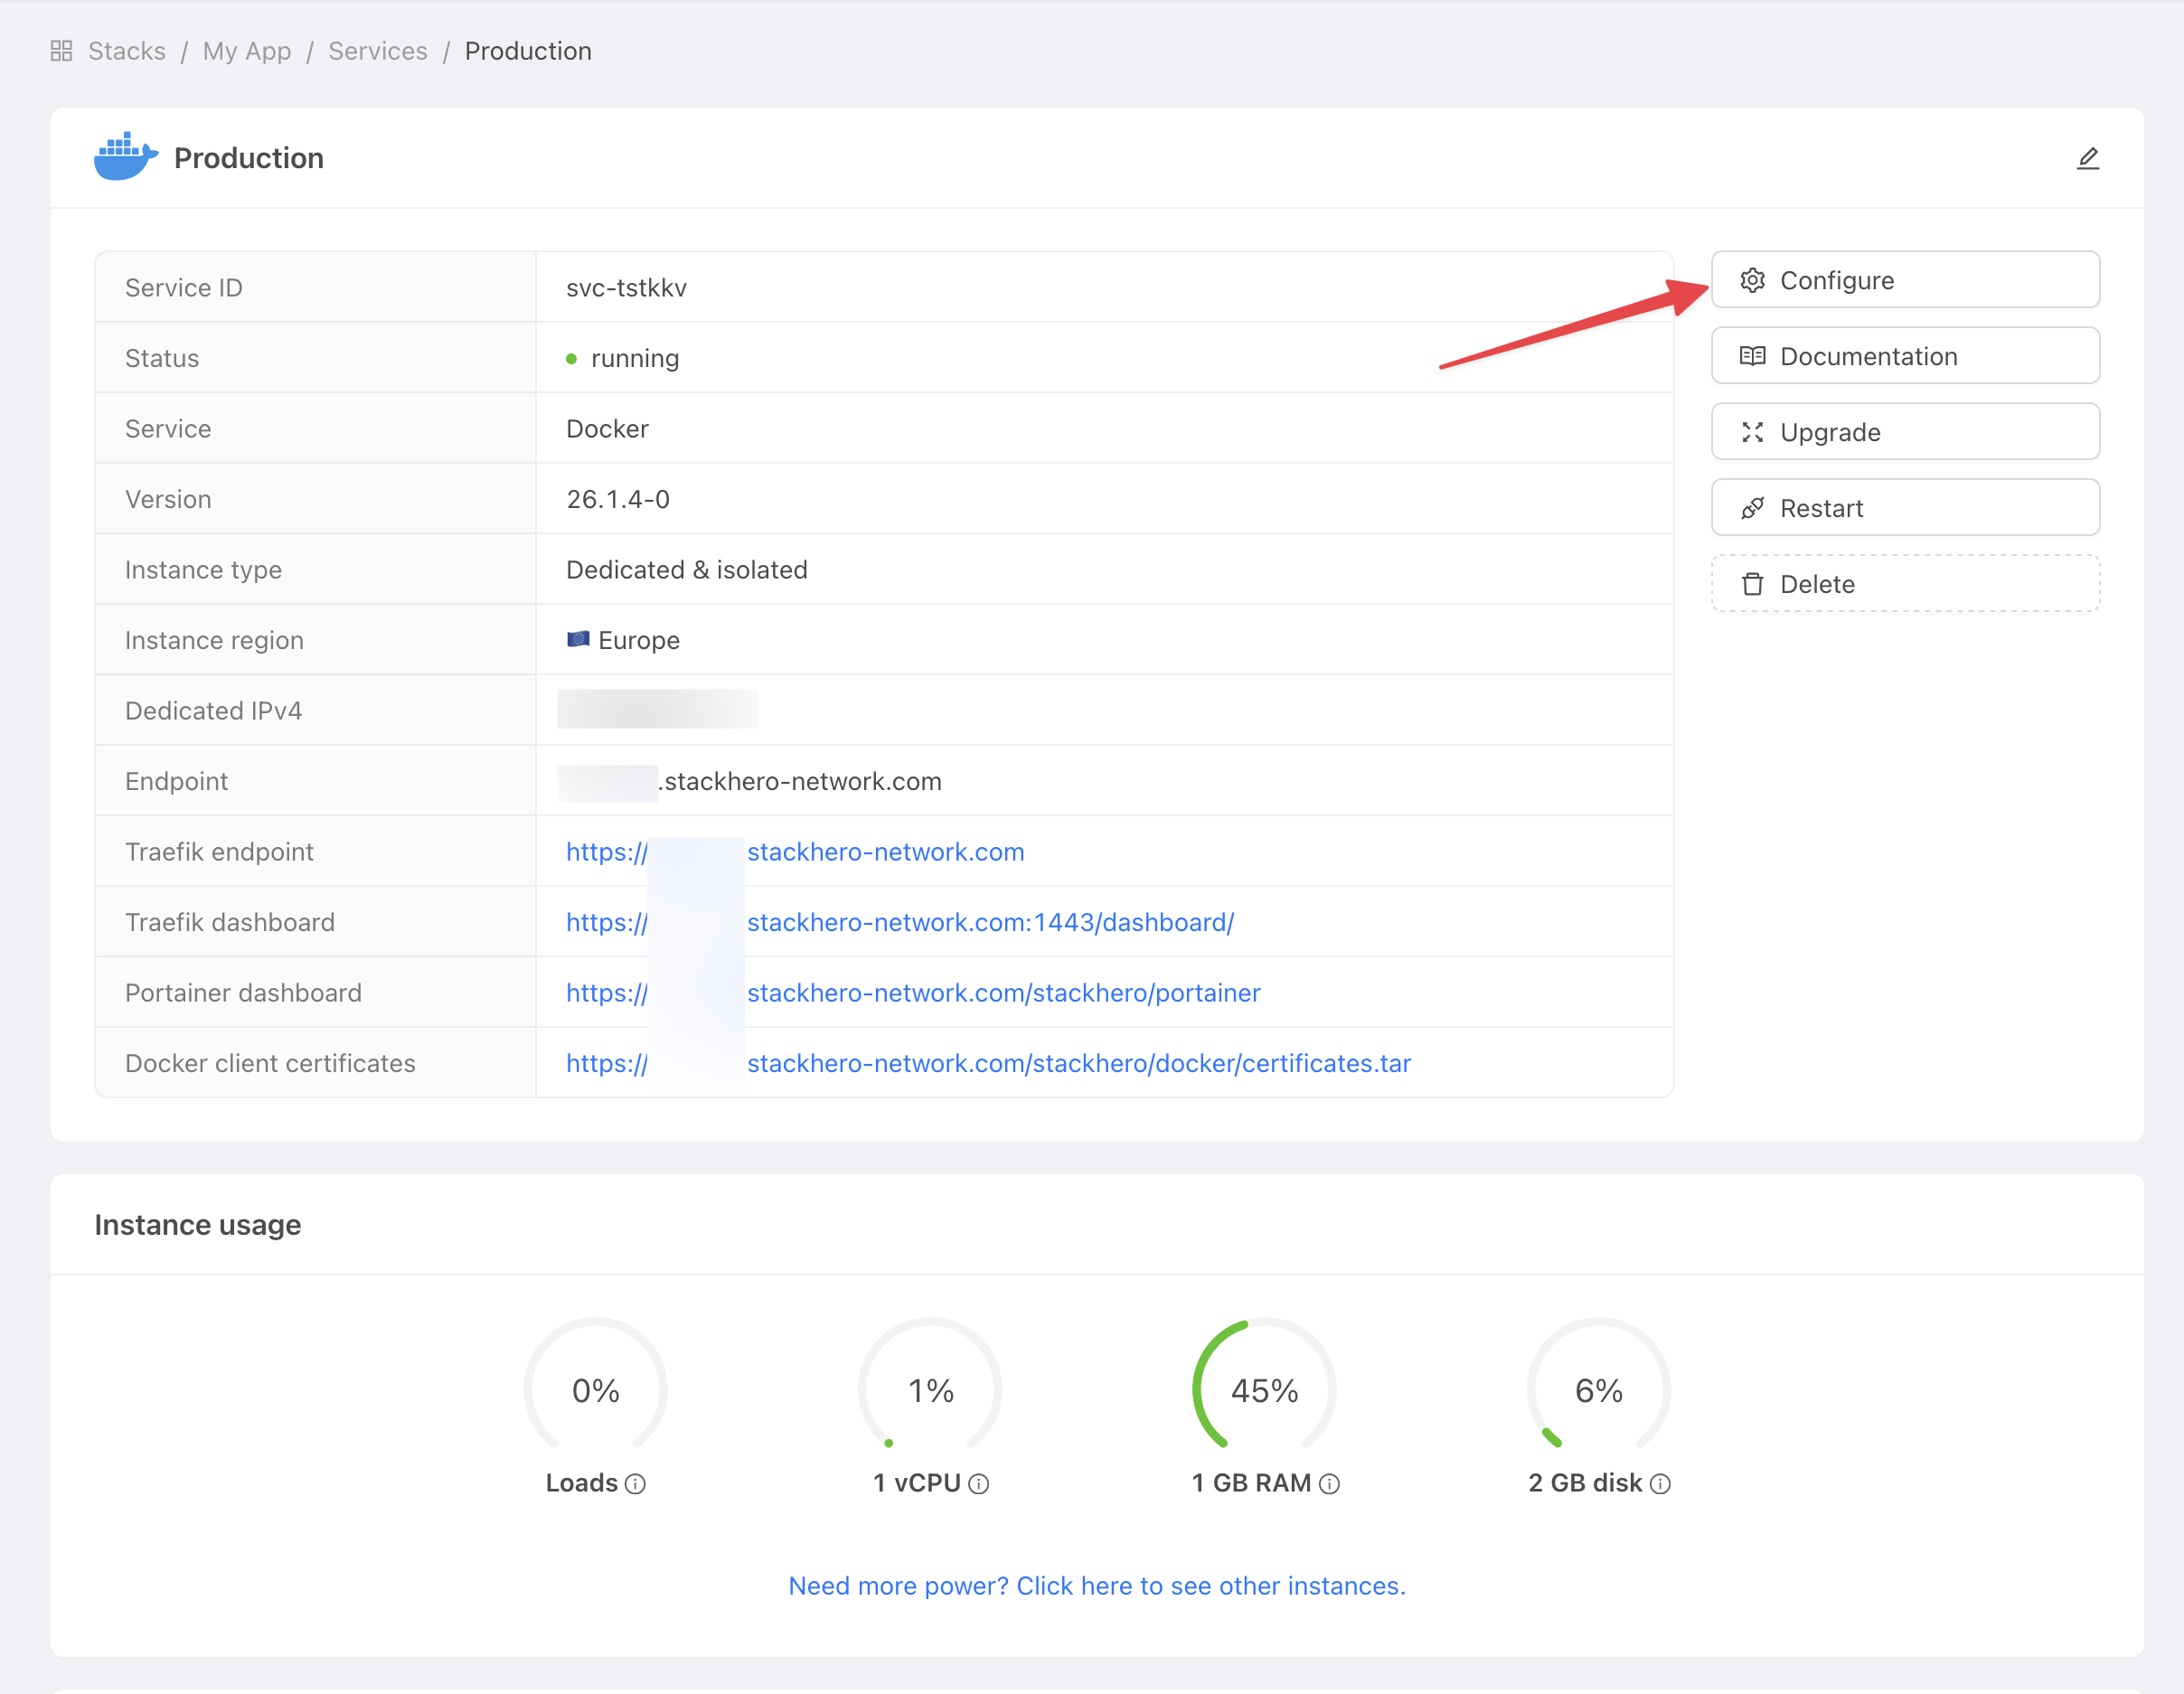 Get service settings
 -
Copy both the "Domain name" and the "Docker certificates password" for use in the next steps.
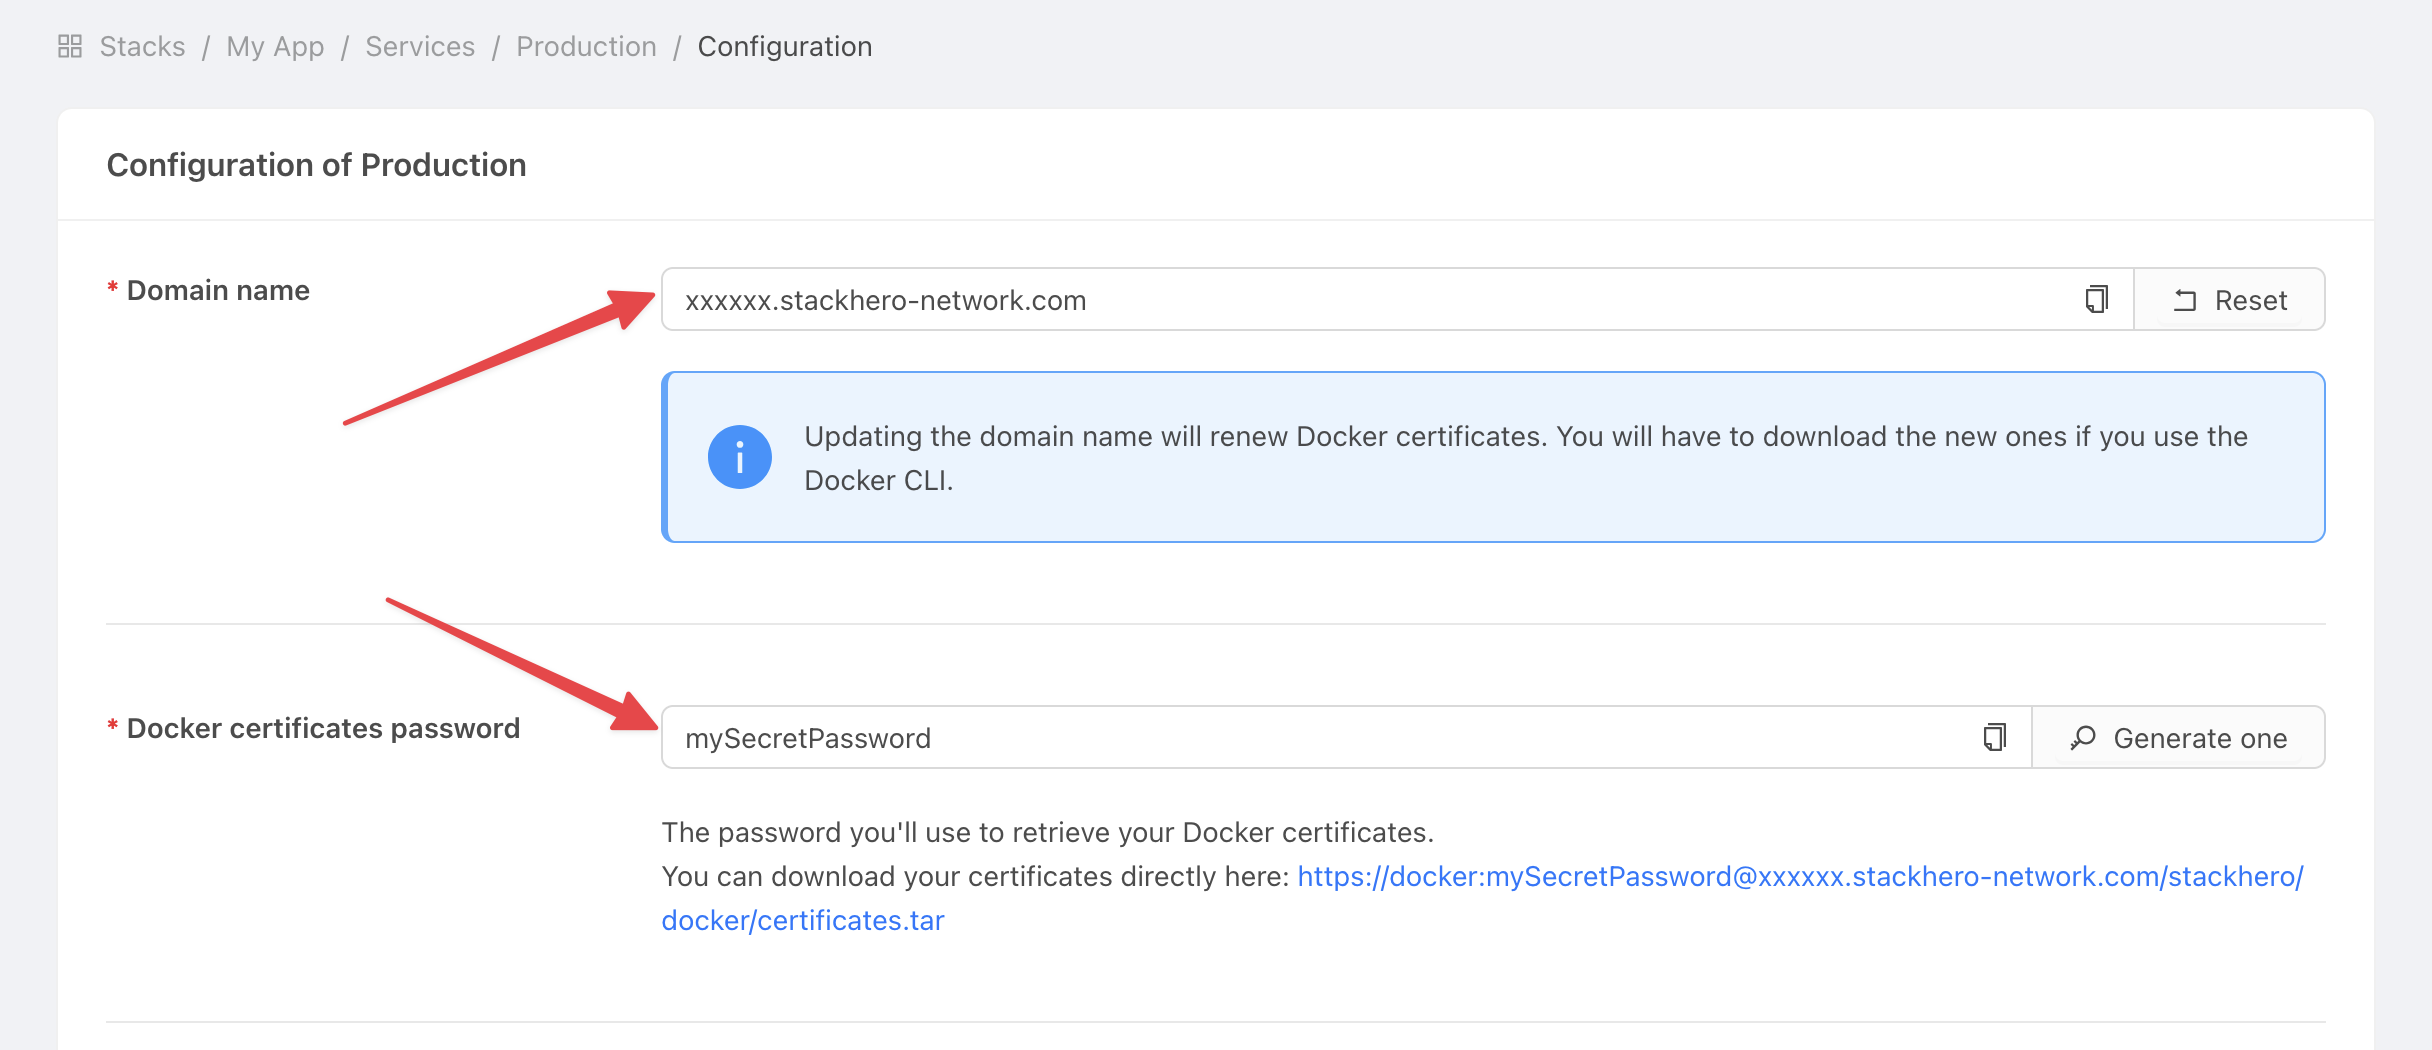 Get service settings
Set the domain name and certificates password in GitHub
-
In GitHub, open your project.
-
Go to Settings > Environments, then click New environment.
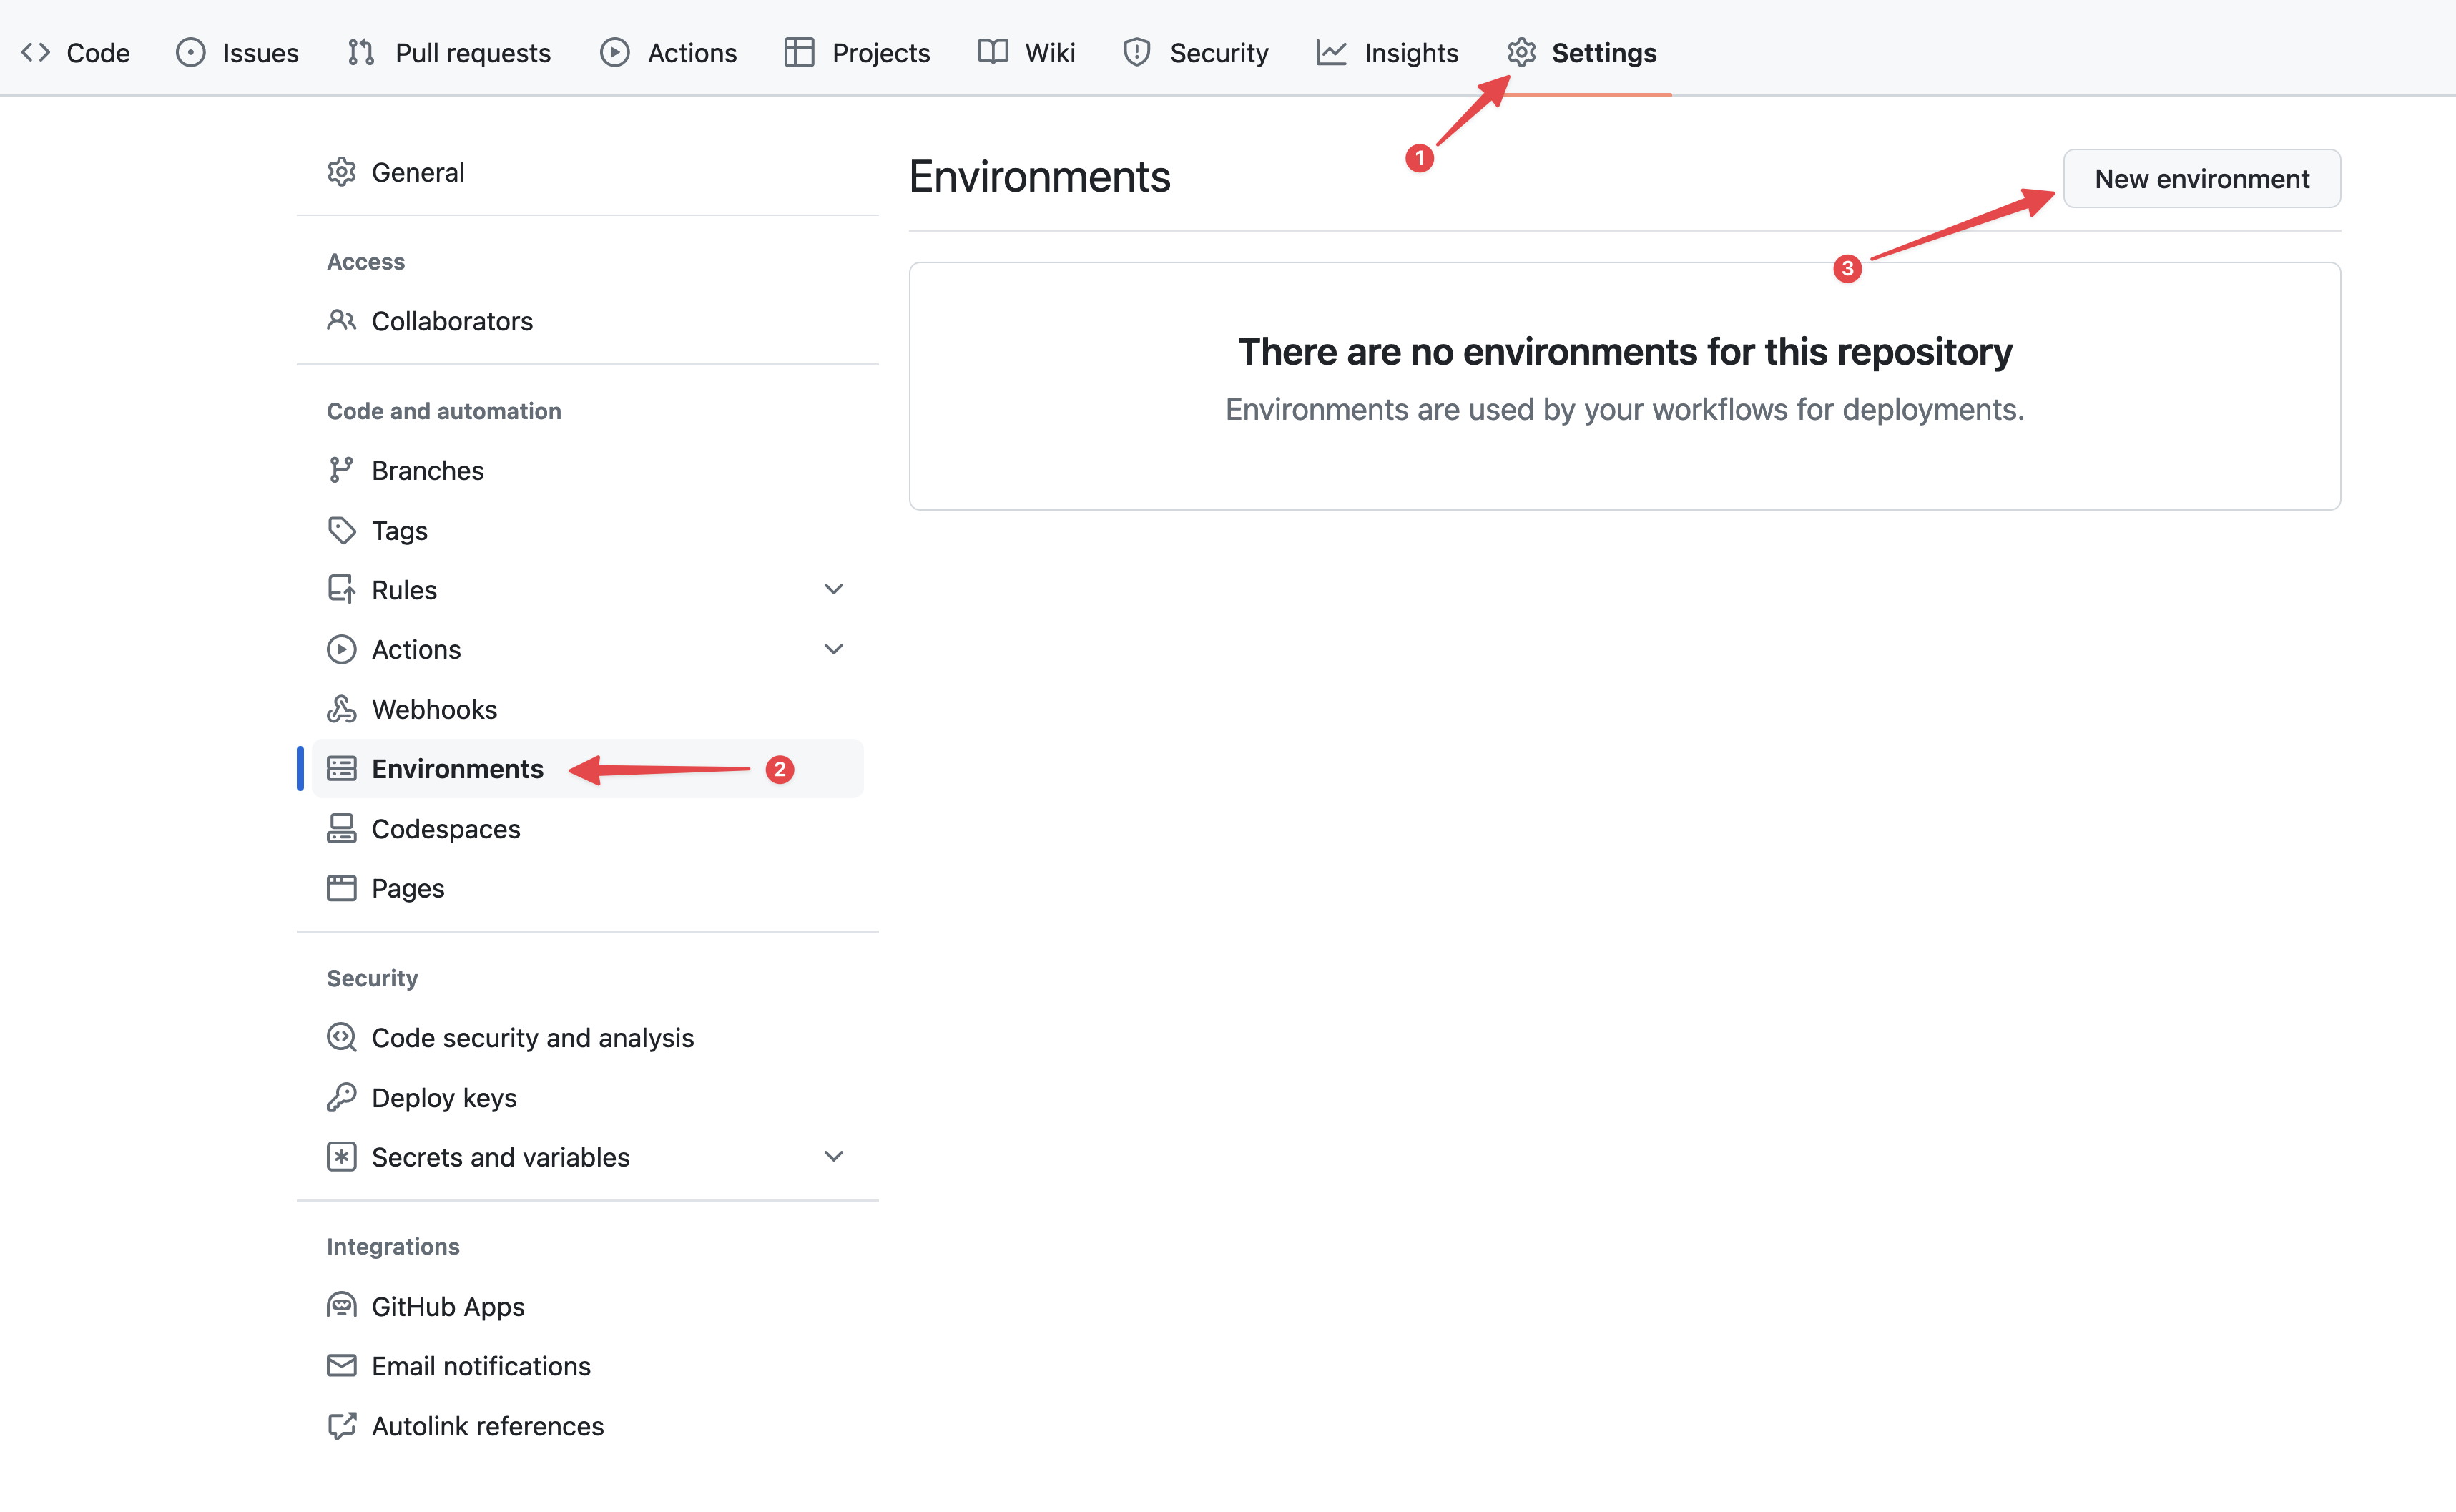 Configuring GitHub environments
 -
In the Name field, enter "production" and confirm.
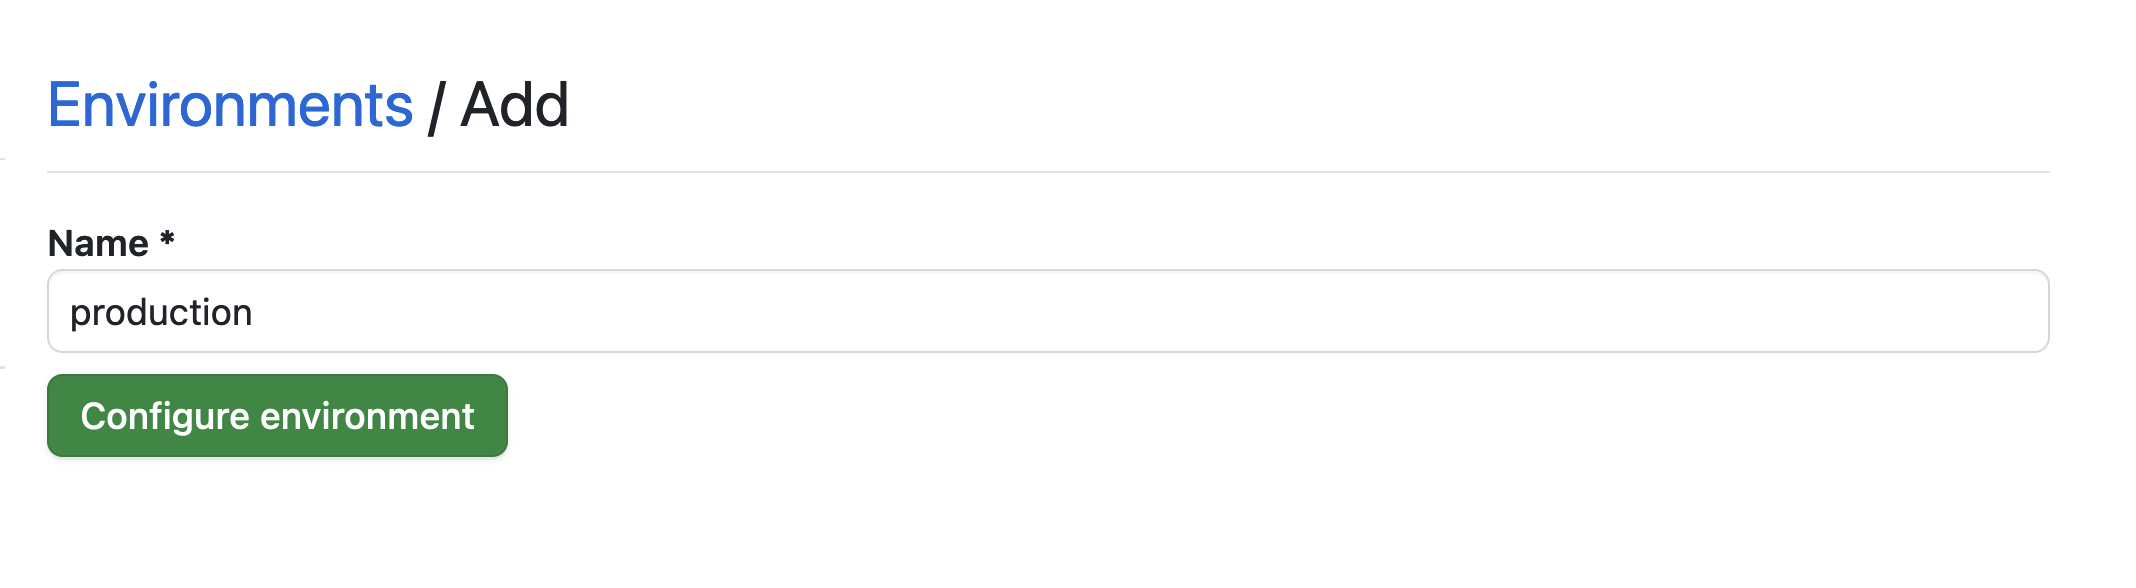 Setting the environment
 -
Click the No restriction button and select Selected branches and tags.
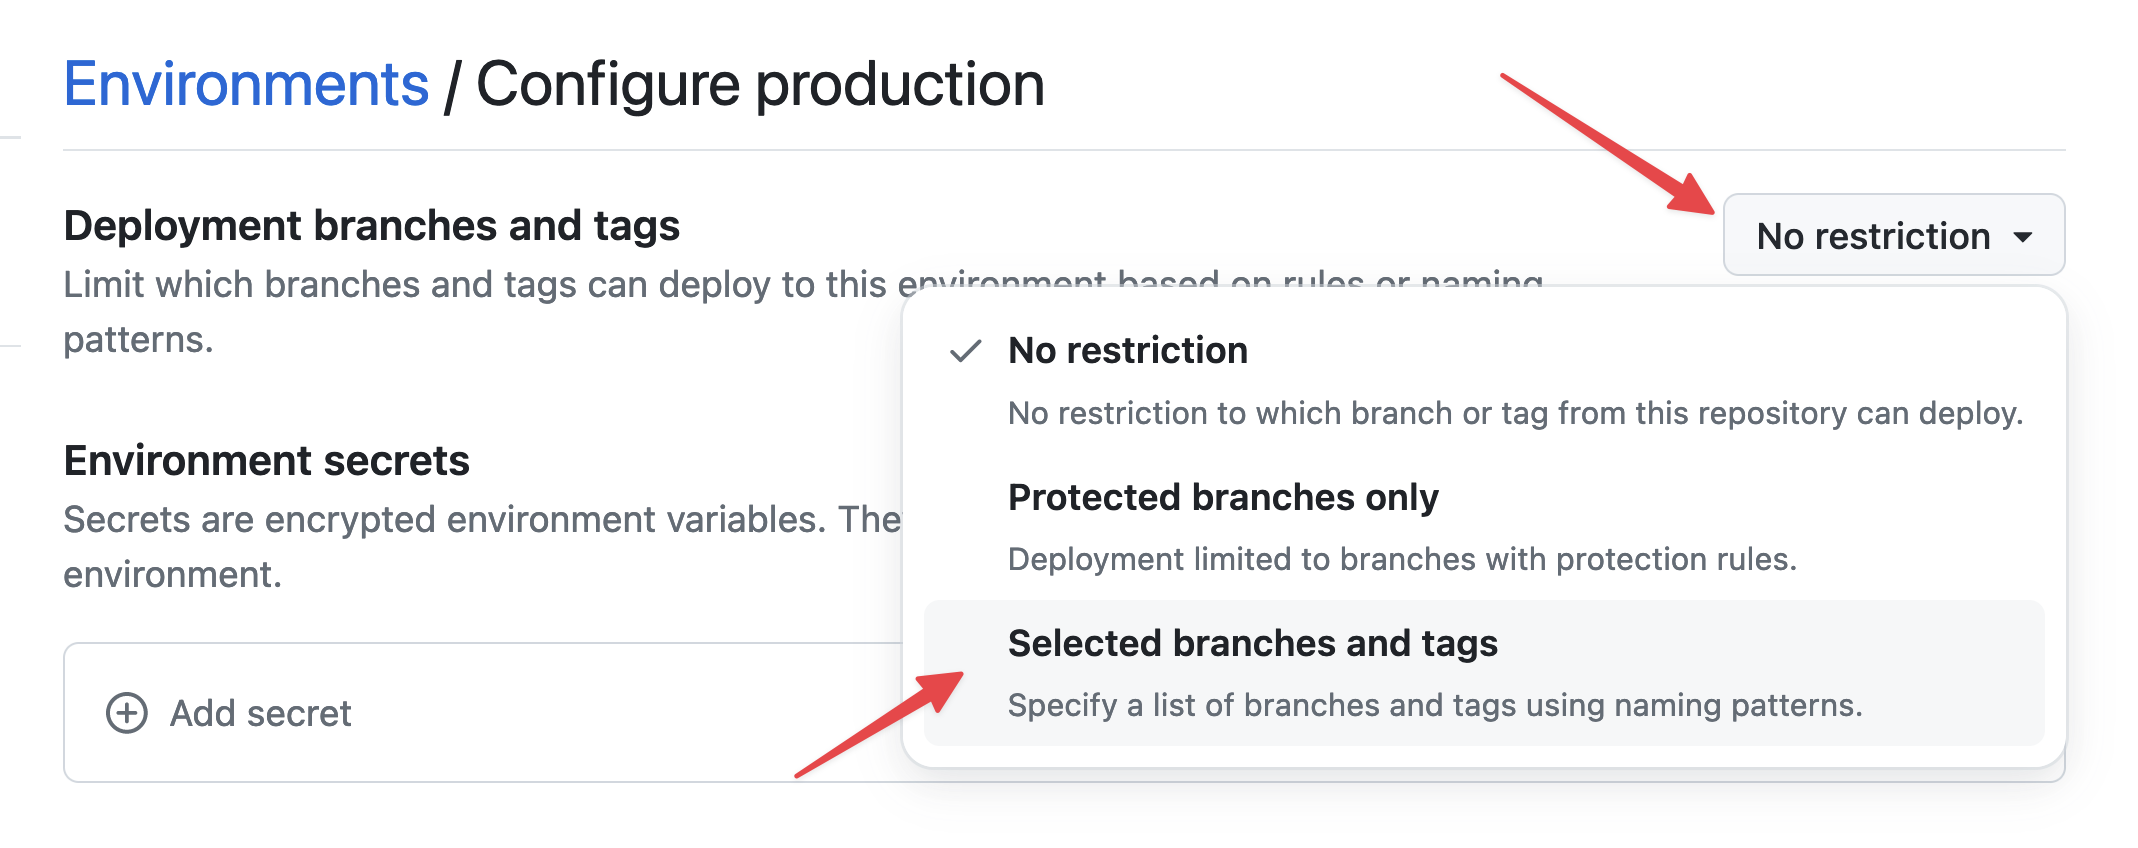 Setting environment restrictions
 -
Click Add deployment branch or tag rule, enter "production" in the Name pattern field, then click Add rule.
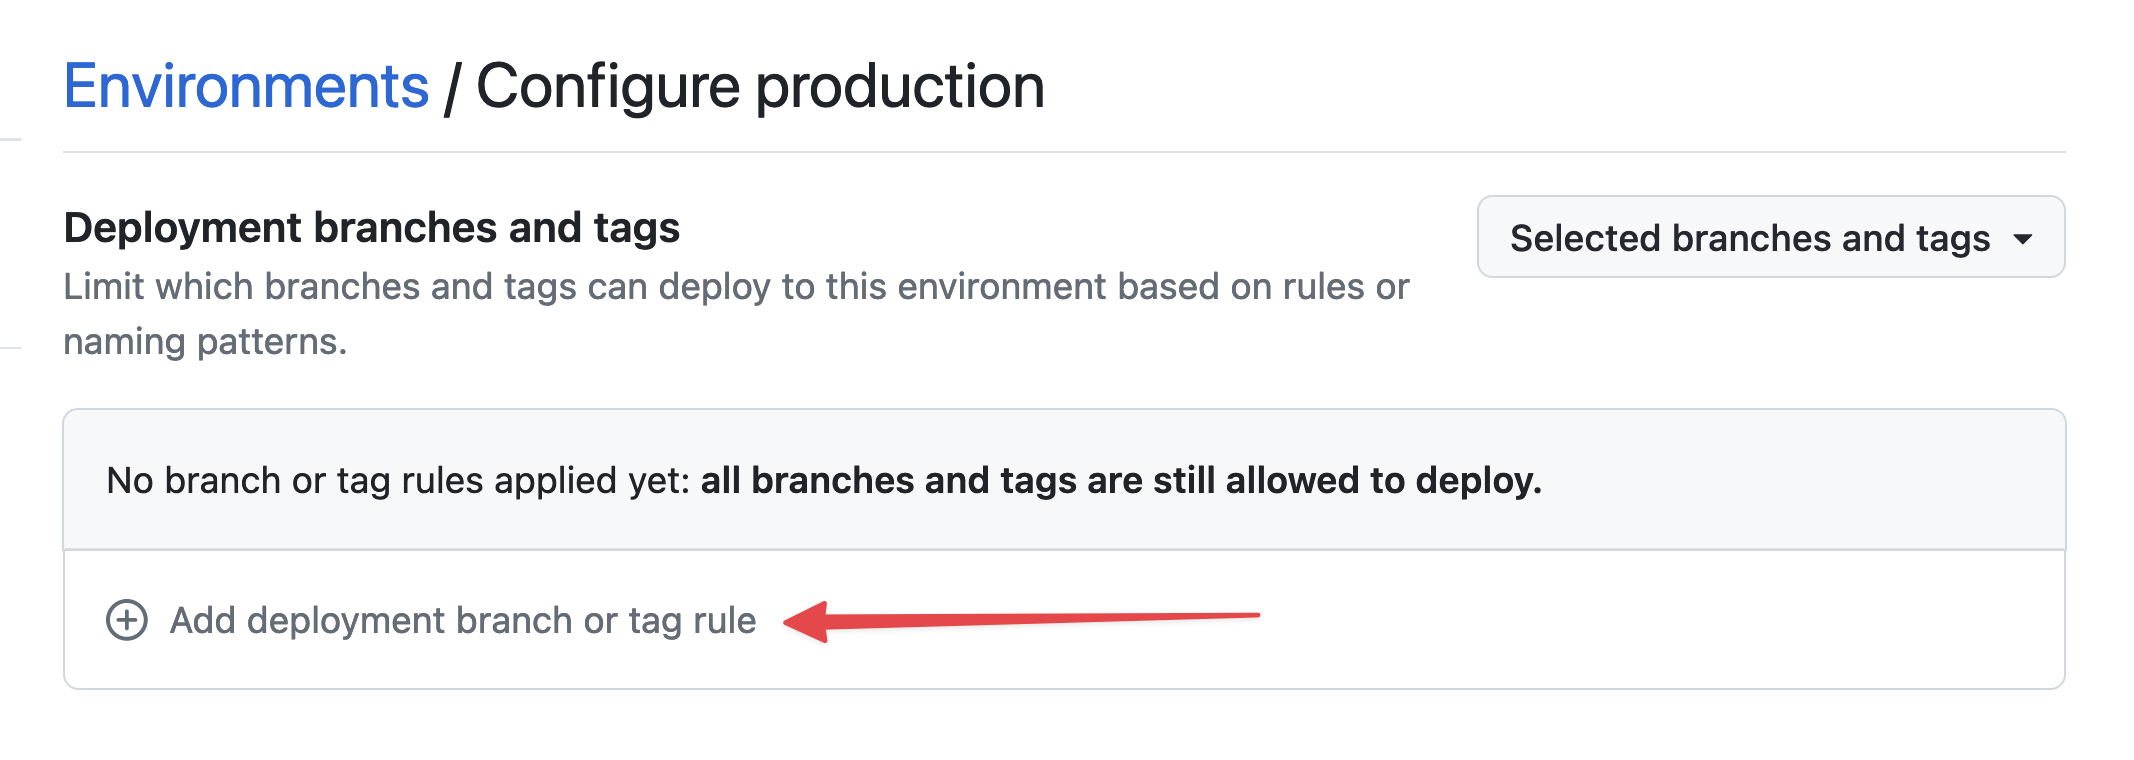 Setting environment branch
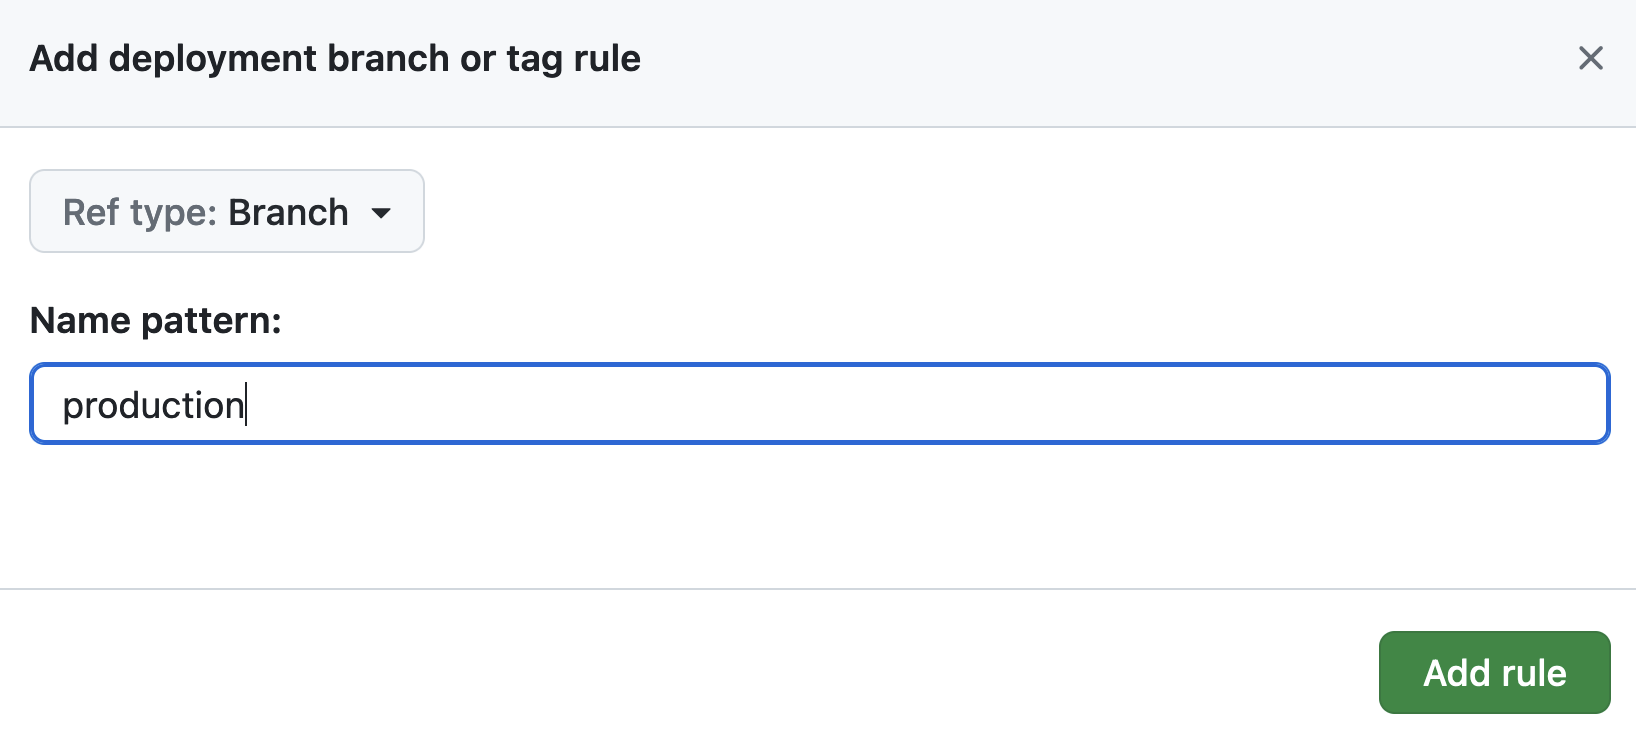 Setting environment branch
 -
Under Environment secrets, click Add secret.
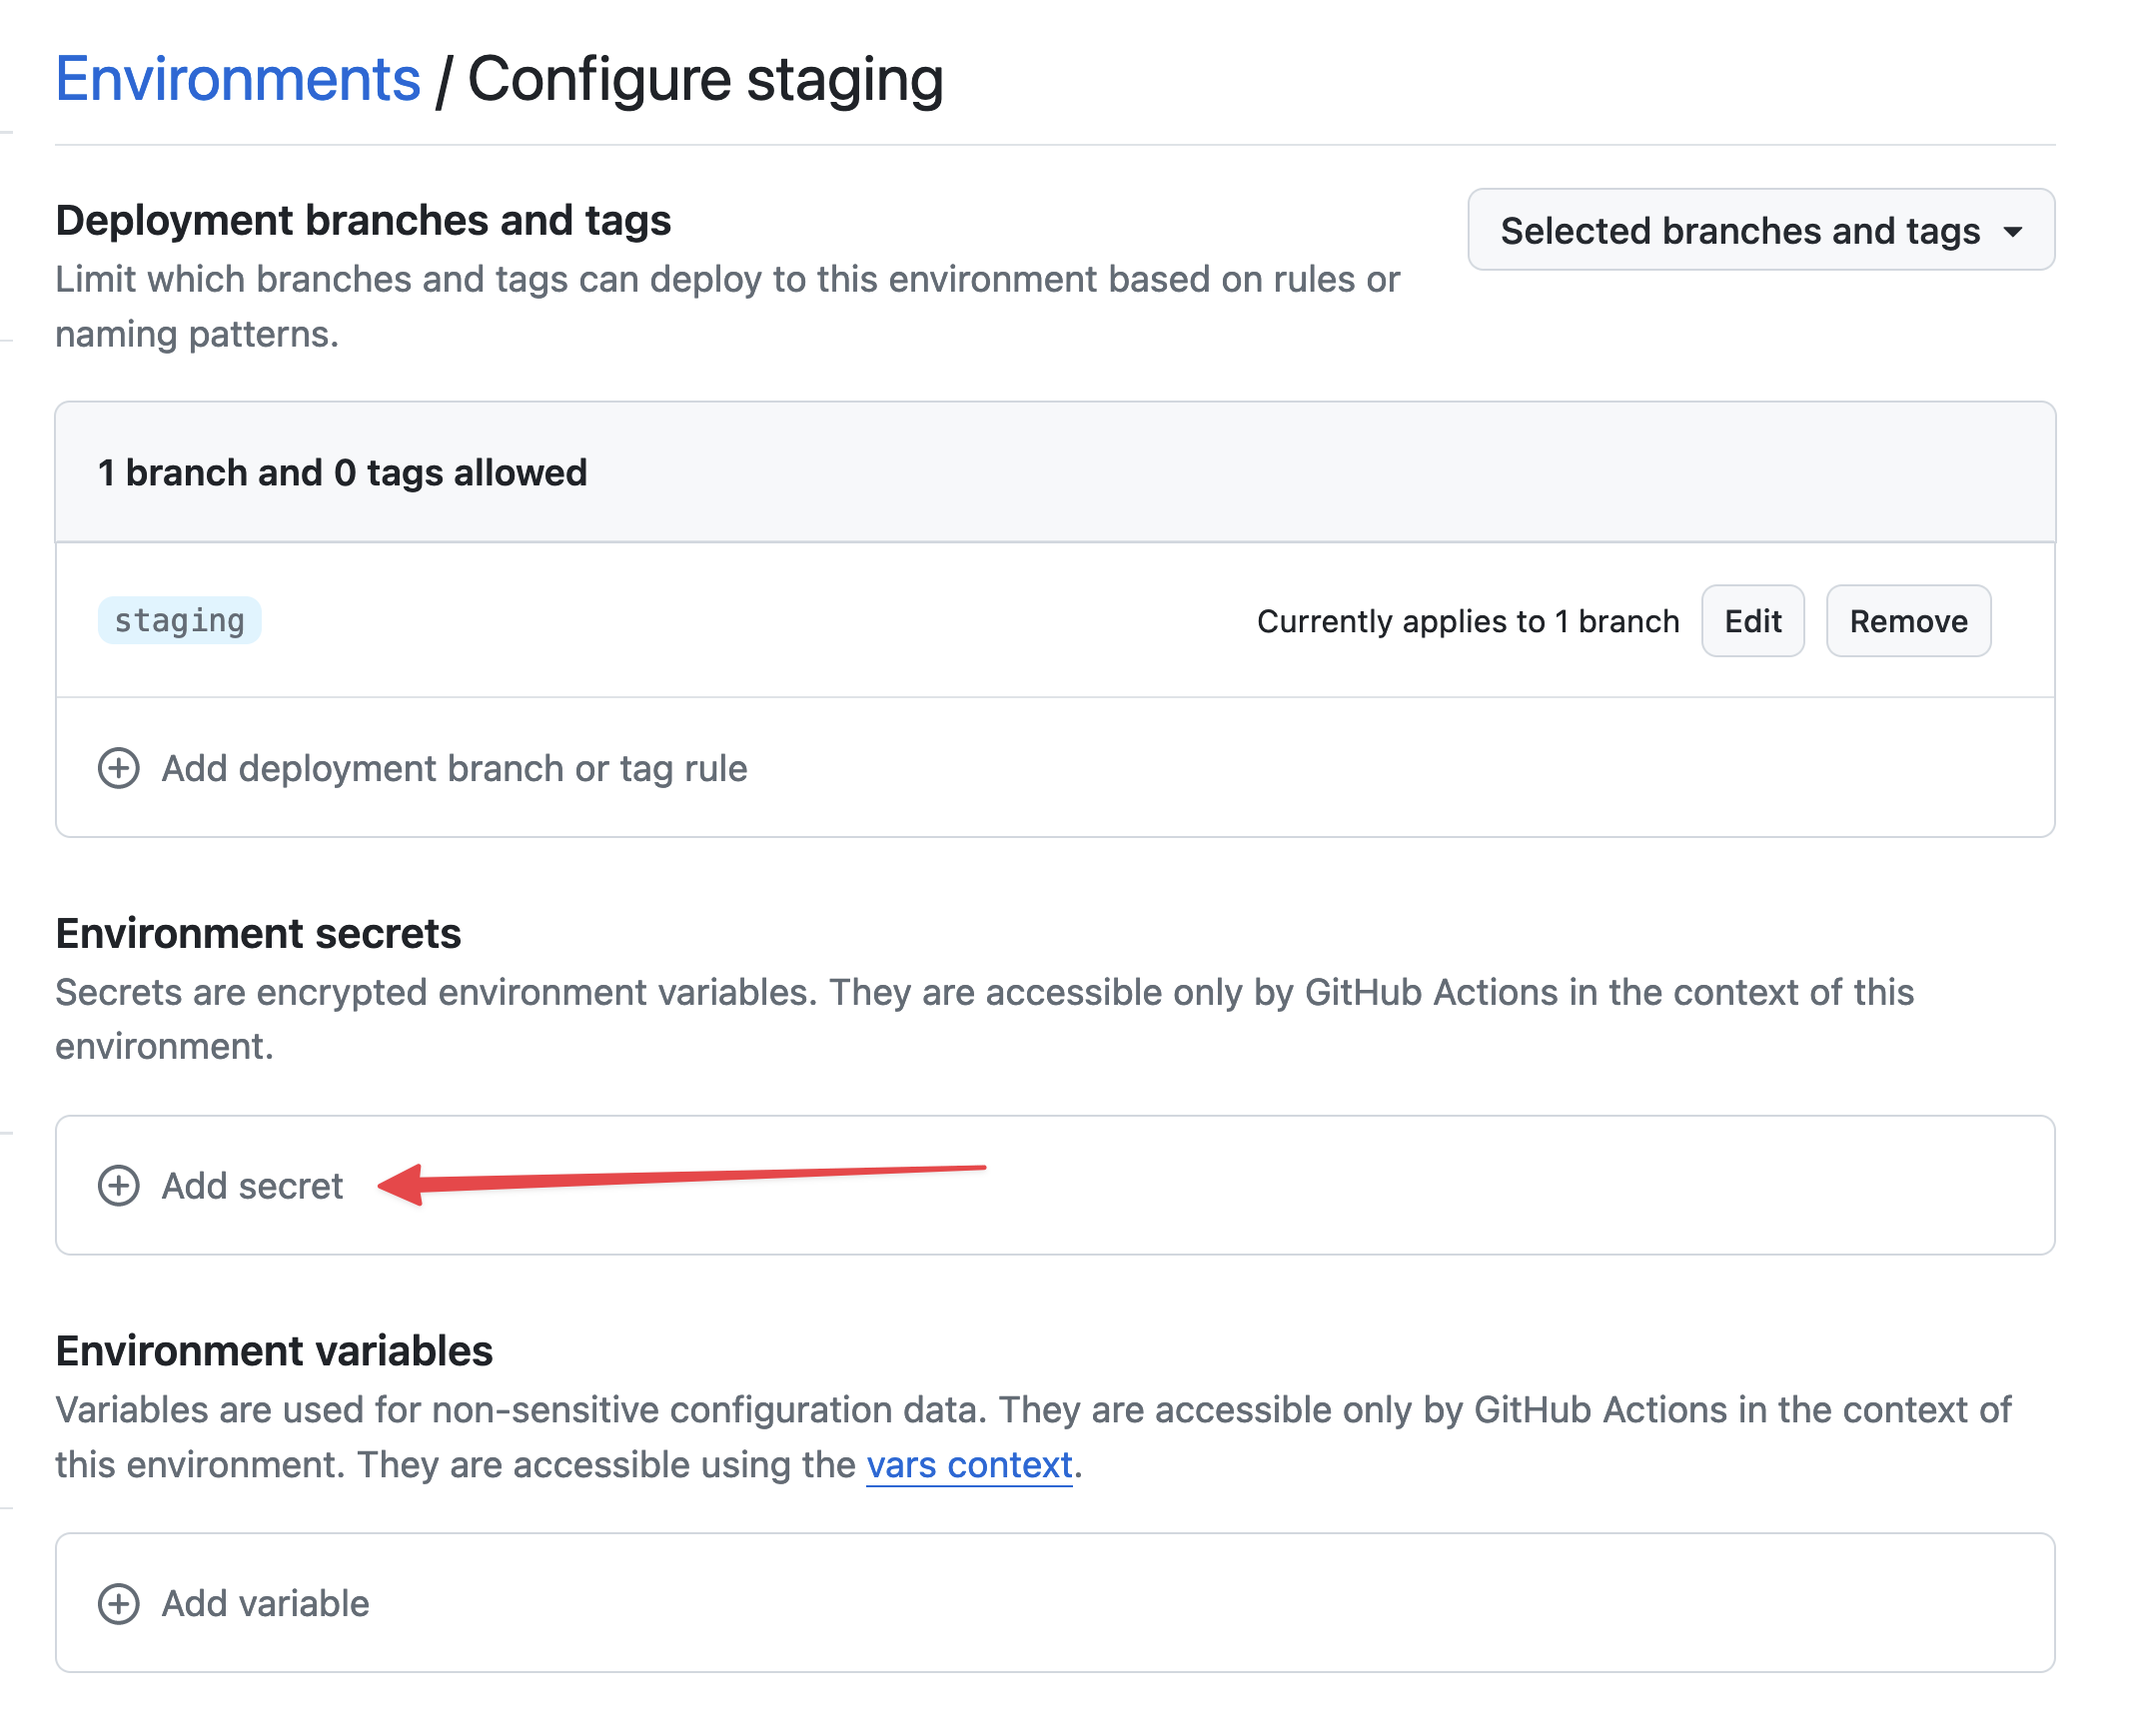 Add secret
 -
For the secret, use
STACKHERO_CERTIFICATES_PASSWORDas the name and paste your certificates password into the Value field.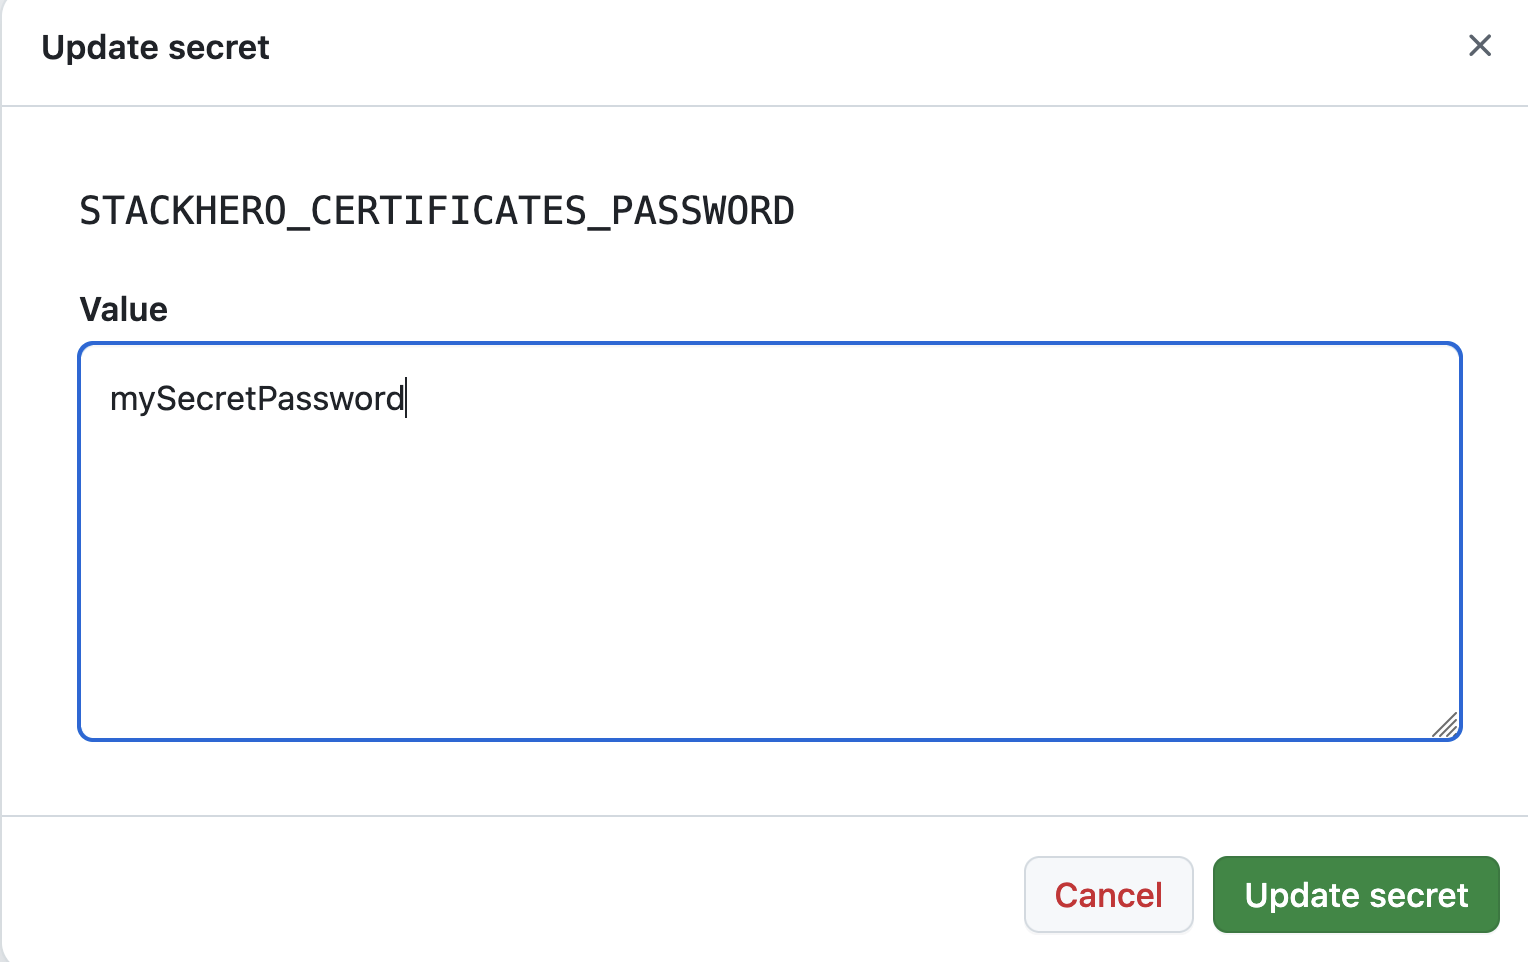 Setting the certificates password secret
 -
Under Environment variables, click Add variable.
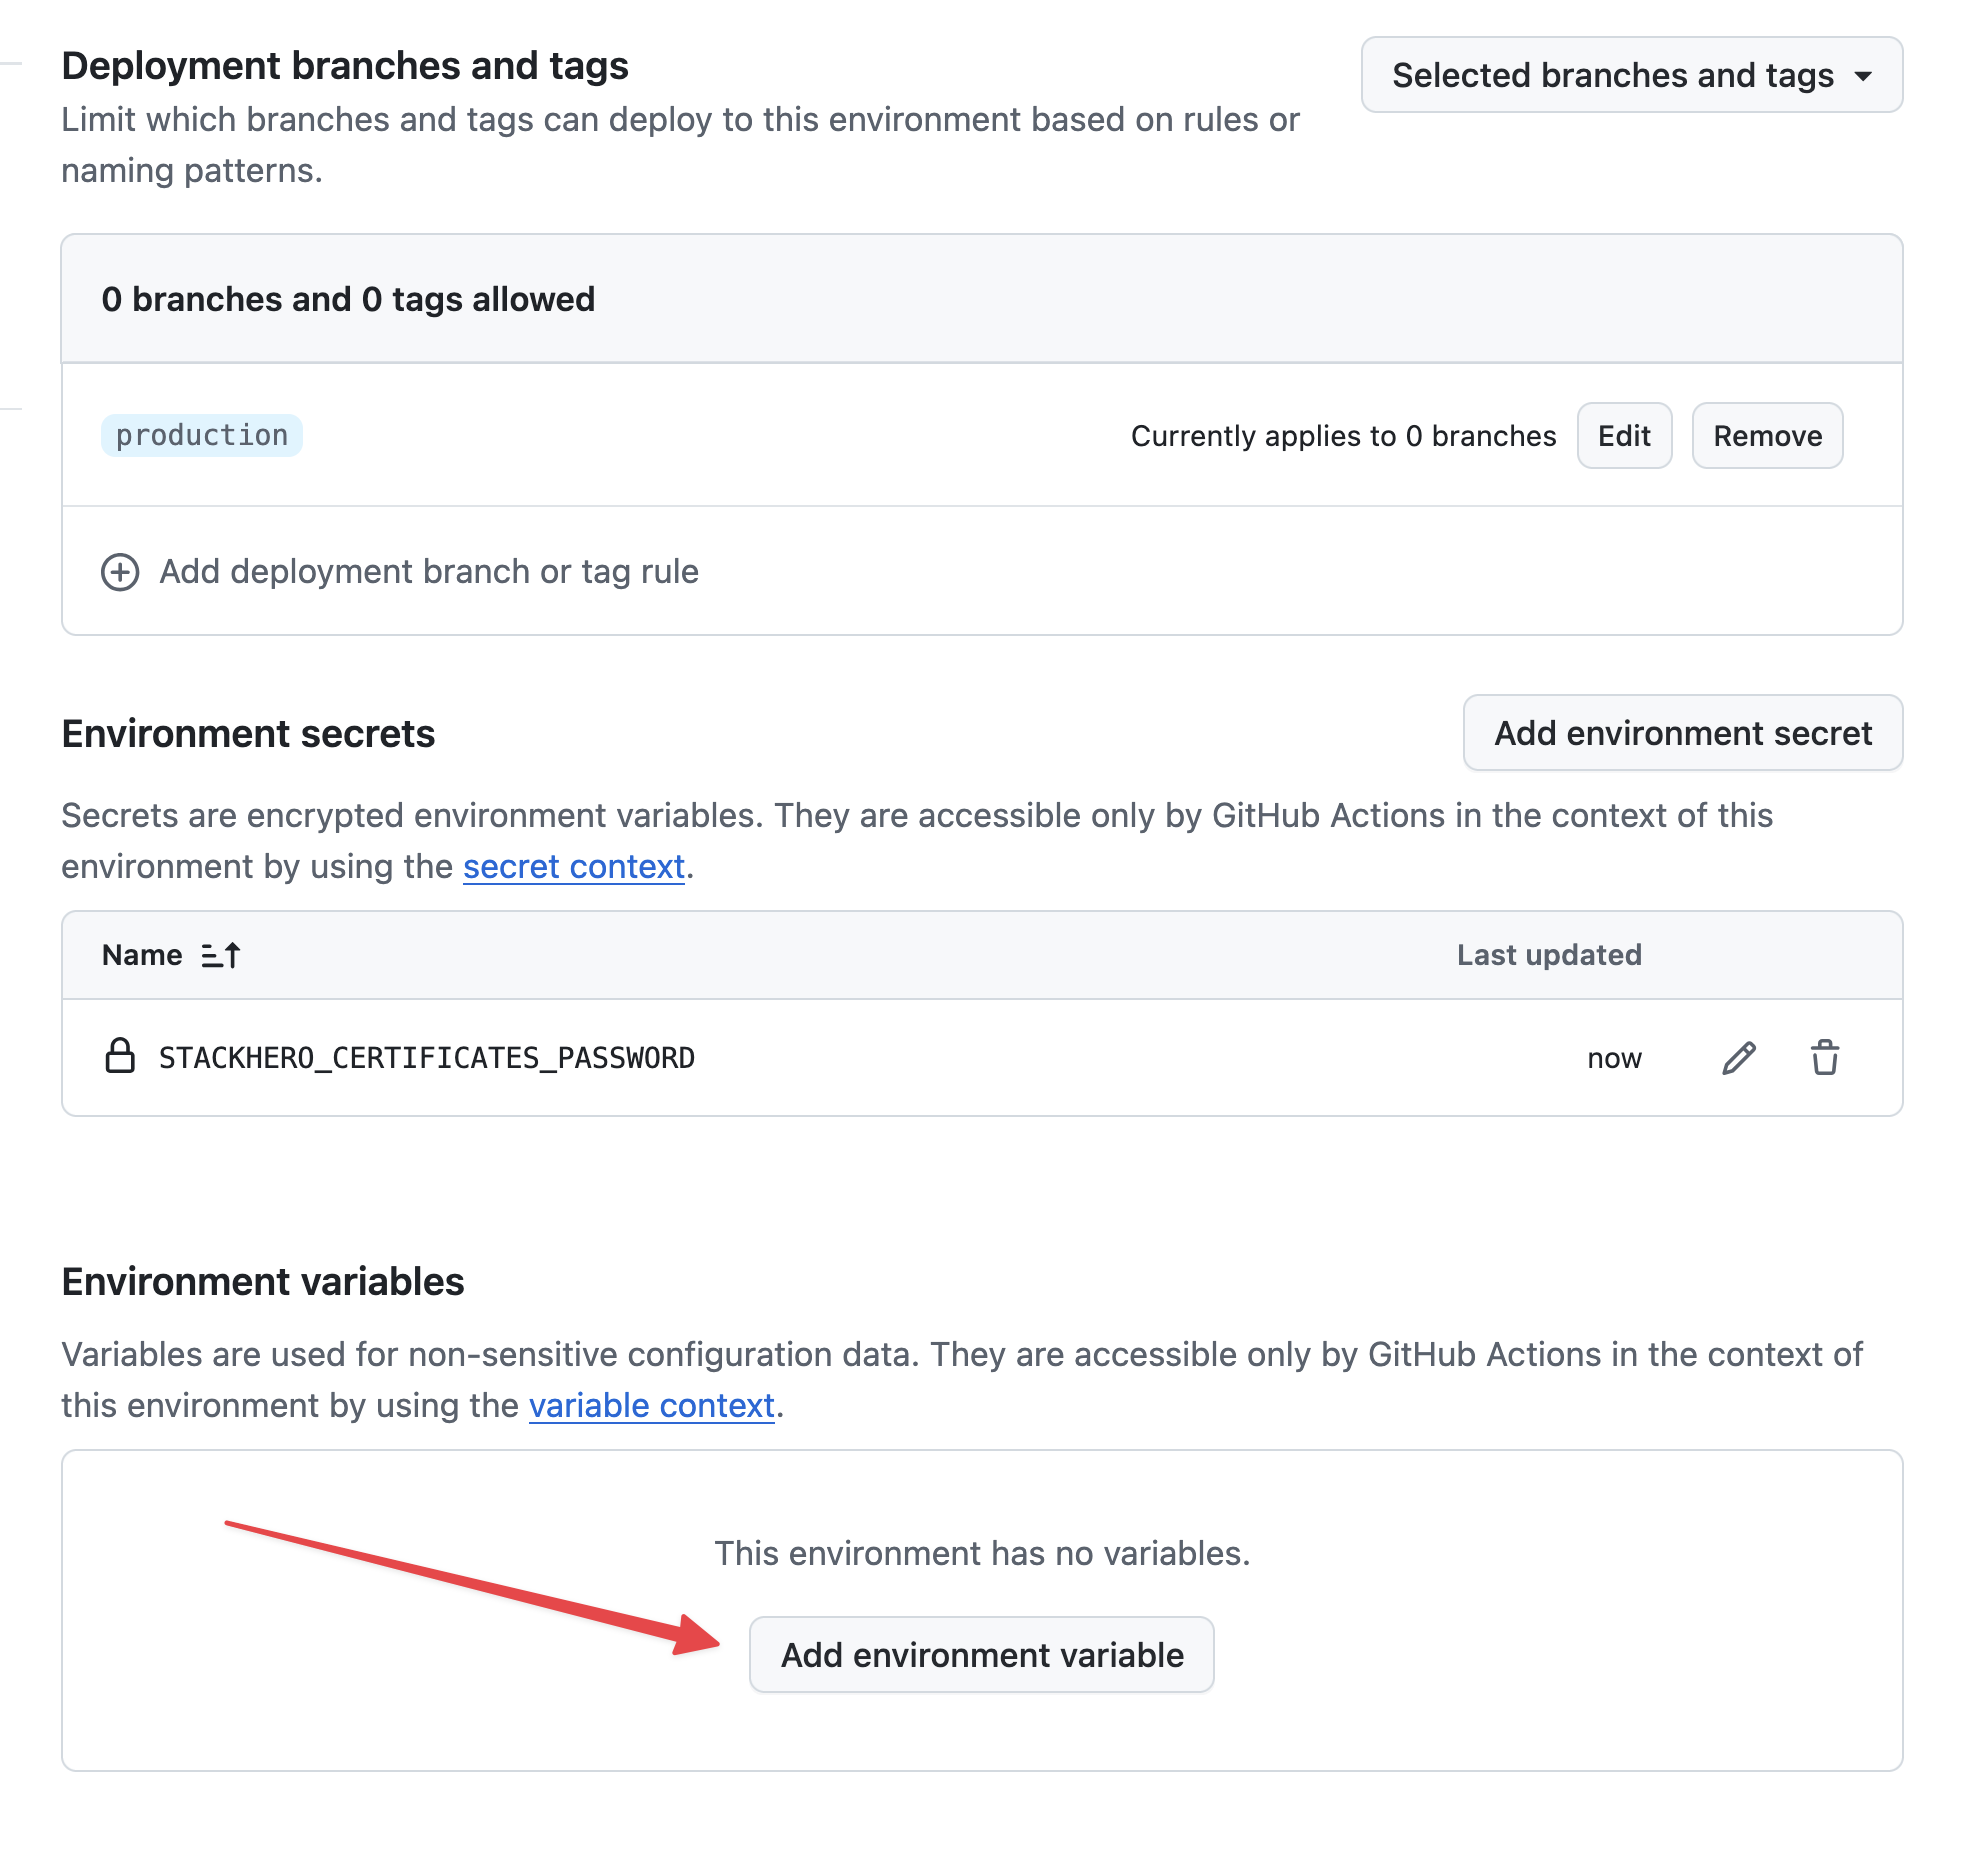 Setting variables
 -
Use
STACKHERO_ENDPOINTas the name and paste your Docker service endpoint into the Value field. You will find this endpoint in your Stackhero dashboard.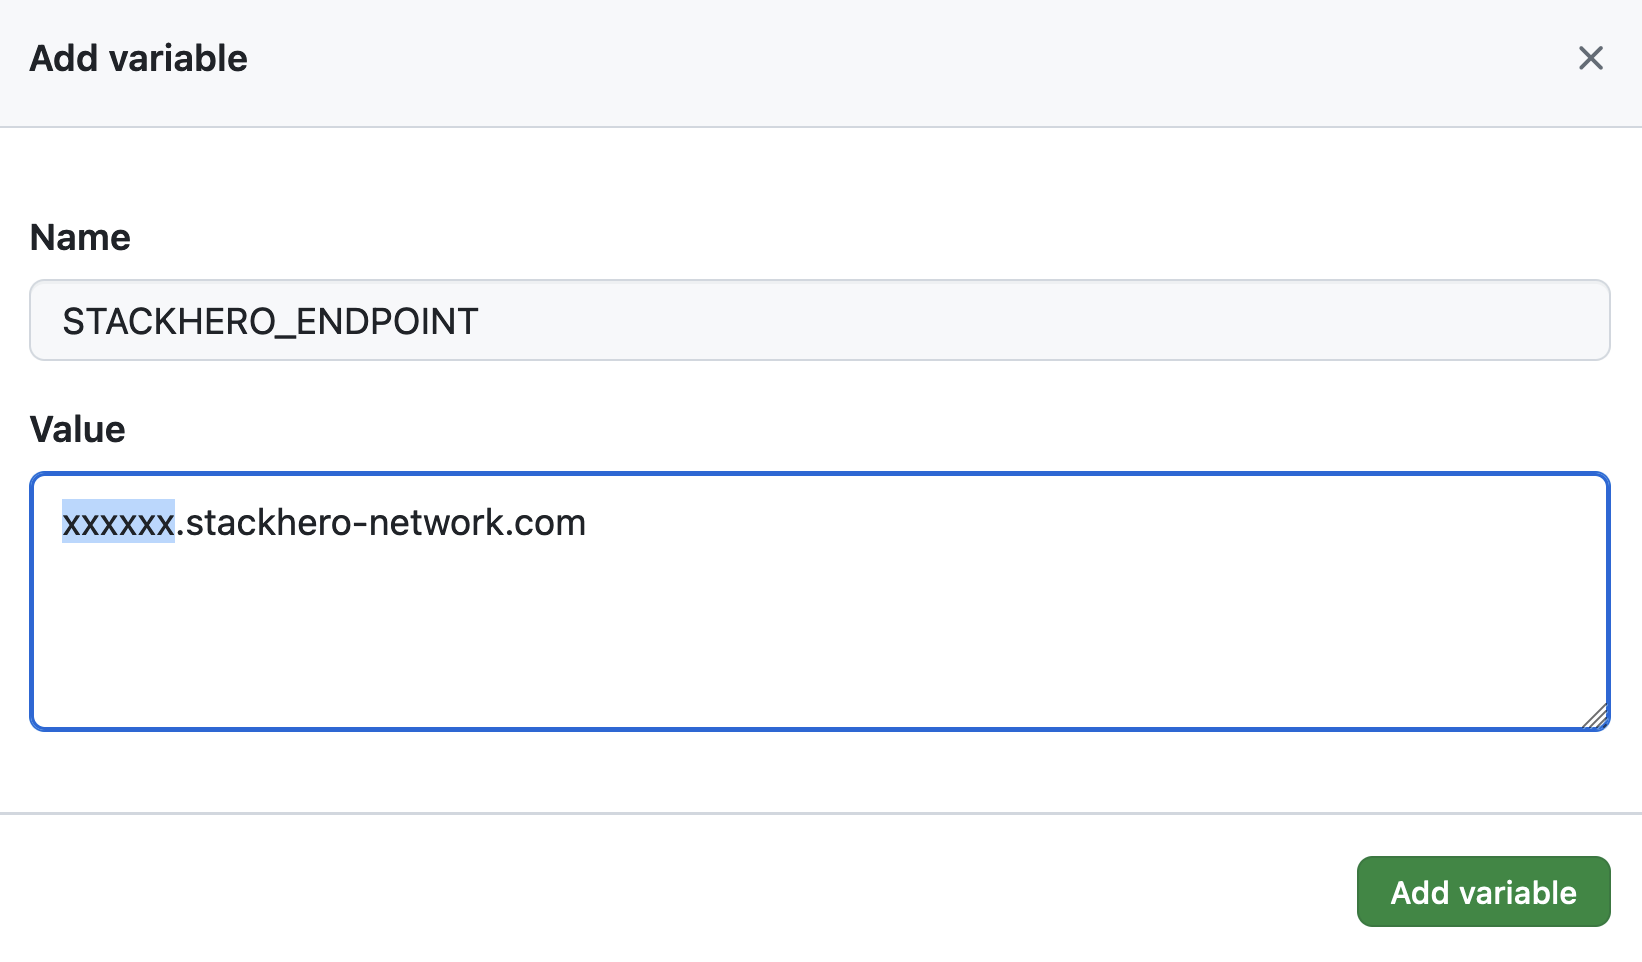 Setting the endpoint variable
If you have customised your service's domain name, remember to use your custom domain instead of <XXXXXX>.stackhero-network.com.
Customise the Docker Compose configuration file
If the
docker-compose.ymlfile is already at the root of your project and you do not need any customisation, you can skip this section.
By default, GitHub Actions looks for the docker-compose.yml file at the root of your project. If you want to use a different file or configuration, you can adjust the deployment command. For example, if you are using our Getting started with Node.js and Docker boilerplate, you can create a new environment variable called STACKHERO_DEPLOY_COMMAND and set it as follows:
docker compose --env-file env.list --file docker/docker-compose.yml --file docker/docker-compose.production.yml up --build --remove-orphans -d