 Mosquitto: WebSockets
How to connect to MQTT using WebSockets
👋 Welcome to the Stackhero documentation!
Stackhero gives you a fully managed Mosquitto MQTT cloud environment designed for reliability and flexibility:
- Unlimited message throughput and data transfers, so your workflows never hit artificial limits.
- Unlimited device authentication through your own external API, making onboarding and access management seamless.
- Advanced ACLs for fine-grained control over topics, users, and actions.
- A custom domain name with built-in HTTPS for secure, branded endpoints (for example: https://mqtt.your-company.com).
- Zero-hassle updates: apply improvements or security patches with a single click.
- Consistent performance and strong security, with every instance running on a private, dedicated infrastructure.
Accelerate your IoT projects and reduce operational overhead. You can have a secure, production-ready Mosquitto MQTT cloud hosting instance up and running in just a few minutes.
You have two main options for connecting to Mosquitto: the native MQTT protocol or WebSockets.
The MQTT protocol is widely recognized for its lightweight design, which makes it especially suitable for IoT devices and resource-constrained environments. However, most web browsers do not support direct MQTT connections. This is where WebSockets are useful, as they allow you to run MQTT over a WebSocket connection, making it possible to interact with MQTT servers from your browser-based applications.
To get started with WebSockets, you can simply enable the "WebSocket support" option in your Stackhero dashboard. Once this feature is active, you just need to point your client to the WebSocket URL: wss://<XXXXXX>.stackhero-network.com:443. This replaces the standard MQTT secure URL, which looks like: mqtts://<XXXXXX>.stackhero-network.com.
Choosing an MQTT library
If your application is written in JavaScript, you might want to explore the MQTT.js library. It is a flexible choice that works both in Node.js environments and directly in the browser. The library documentation and source code are available here: https://github.com/mqttjs/MQTT.js.
Example: Connecting to MQTT using WebSockets
You can find a practical demonstration of how to connect a web application to an MQTT server using WebSockets in this example repository: https://github.com/stackhero-io/mqttWebSocketGettingStarted.
When trying out this example, remember to update the src/index.html file with your own server url, username, and password.
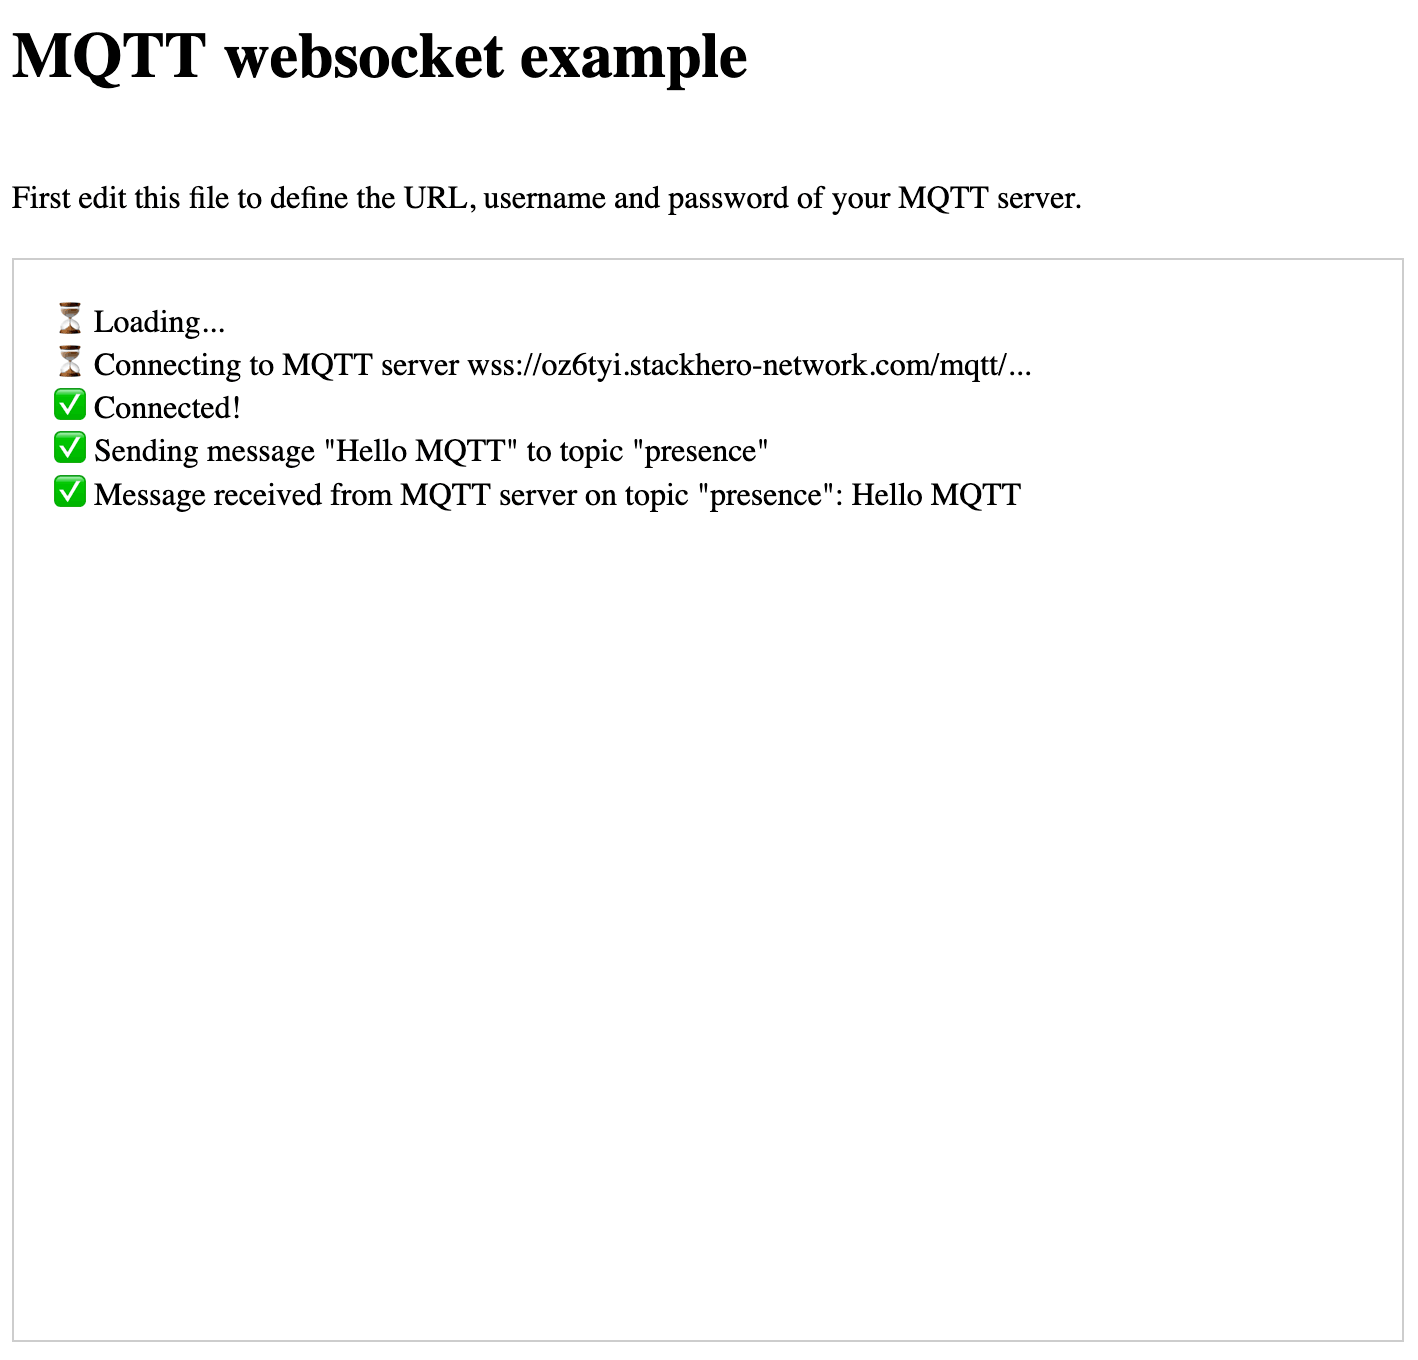 MQTT WebSocket example
Remember to activate WebSocket support in the Stackhero dashboard before proceeding.