 Node-RED: Configuring your remote repository
This documentation is part of the Handle projects guide. View the full guide here: How to use "Projects" in Node-RED.
👋 Welcome to the Stackhero documentation!
Stackhero offers a ready-to-use Node-RED cloud solution that provides a host of benefits, including:
- MQTT server included (Mosquitto).
- Full access to Node-RED admin UI.
- Node-RED Dashboard included.
- Unlimited and dedicated SMTP email server included.
- Effortless updates with just a click.
- Customizable domain name secured with HTTPS (for example, https://node-red.your-company.com).
- Optimal performance and robust security powered by a private and dedicated VM.
Save time and simplify your life: it only takes 5 minutes to try Stackhero's Node-RED cloud hosting solution!
To connect Node-RED to a remote repository, you will want to follow these steps (the example here uses GitHub, but the process is similar for other platforms):
- Add your public key to your chosen platform's settings.
- Get the SSH URL for your Git repository.
You can either create a new repository or use an existing one. On GitHub, open your repository, go to Settings, then Deploy keys, and click Add deploy key. Paste in the public key you copied earlier, give it a clear name like "Node-RED", check the Allow write access box, and click Add key.
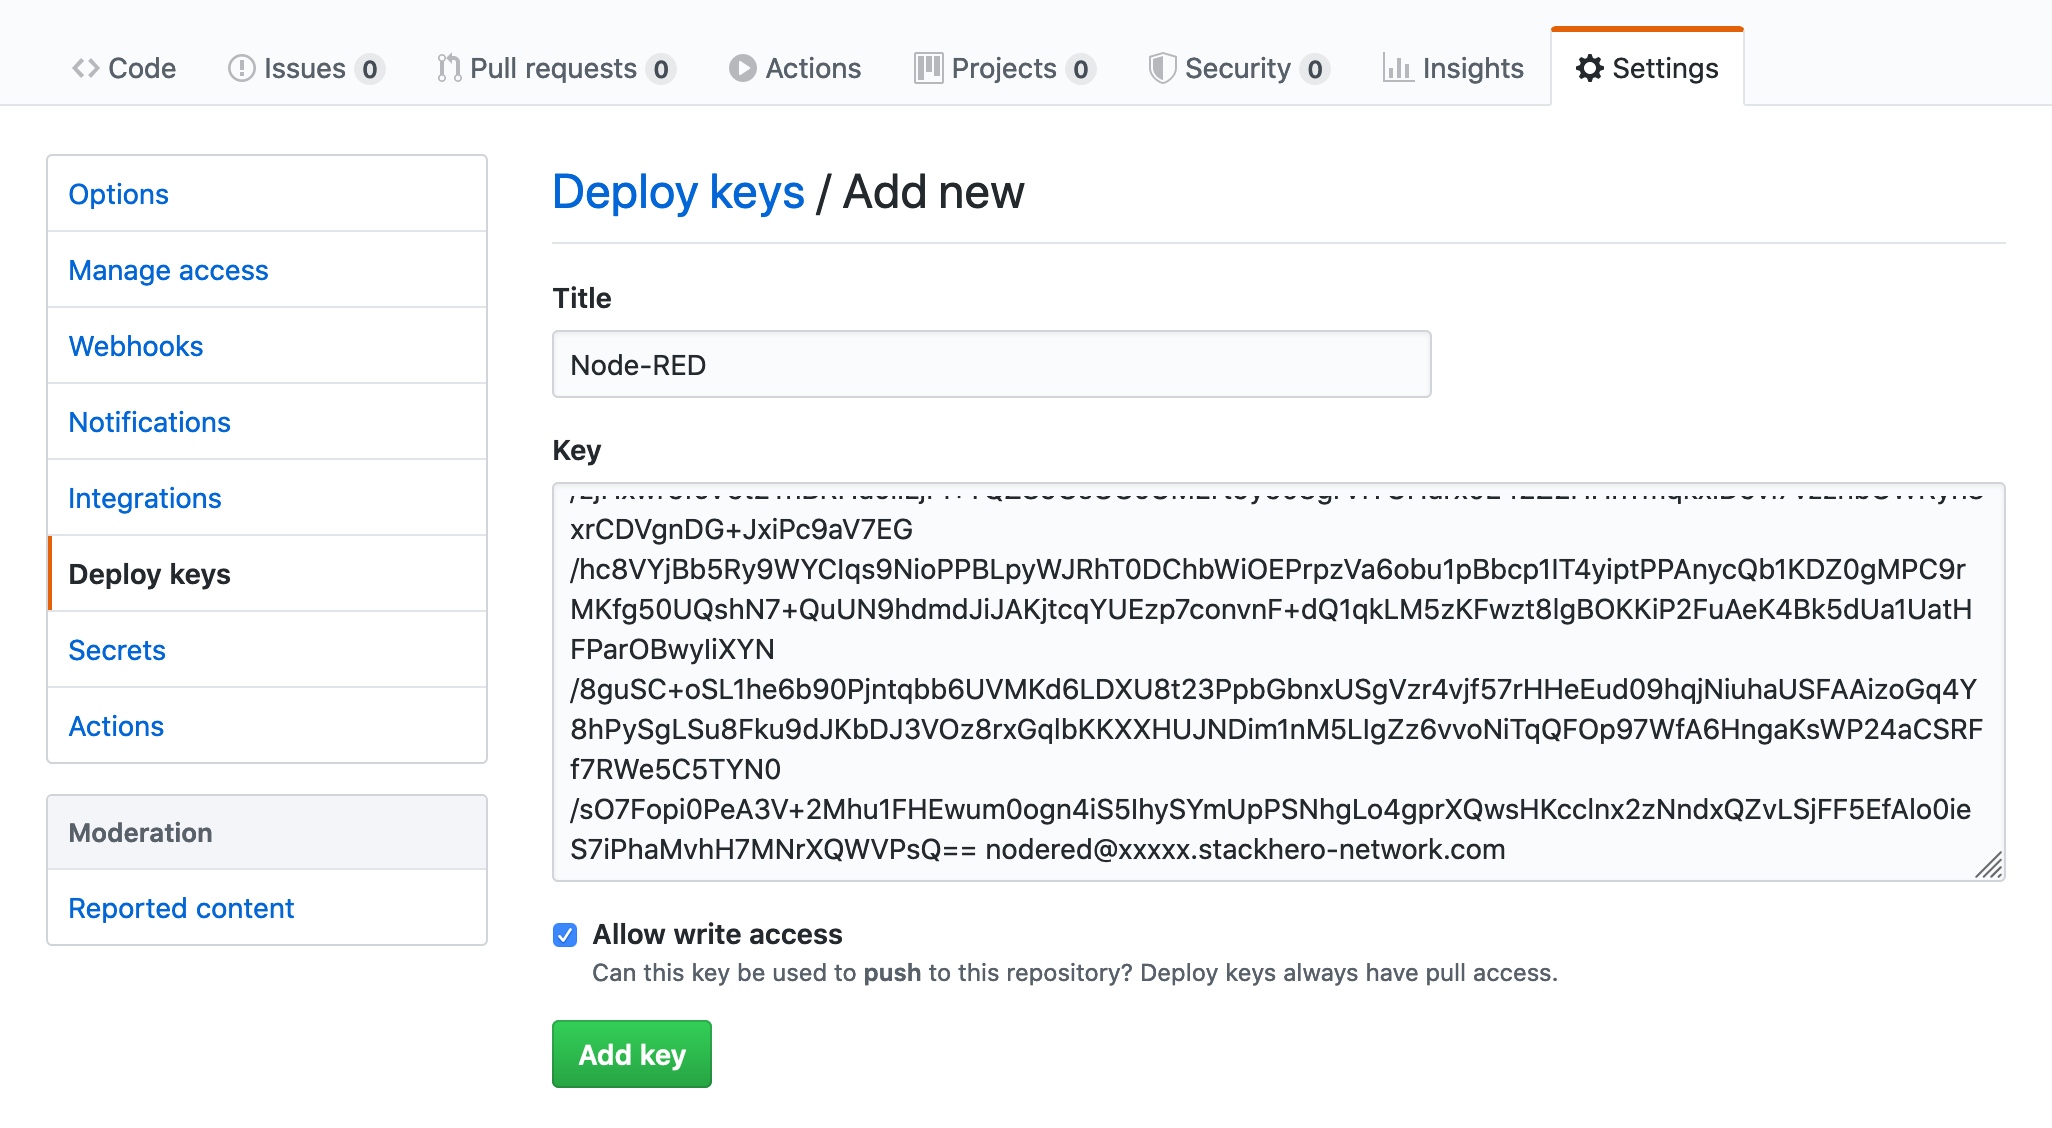 Add public key on GitHub
Head back to your repository's Code tab and copy the SSH URL. This will usually look like [email protected]:<yourOrganization>/<yourRepositoryName>.git. If you are working with an existing repository, you will find this URL by clicking the Clone or download button.